Picture this: it’s a rainy Saturday morning, you’re half‑asleep, and the kitchen smells like a busted cereal box that somehow turned into a bakery. That’s exactly where my obsession with breakfast cookies began—after a disastrous attempt at making oatmeal muffins that turned out as dry as yesterday’s toast. I was staring at a tray of crumbly, flavor‑less blobs, cursing my lack of culinary magic, when a friend dared me to “make something that actually tastes like breakfast, but still feels like a cheat day.” I accepted the challenge, and the result is what I proudly call the Healthy-ish Breakfast Cookies. These aren’t just any cookies; they’re a portable morning hug that delivers a crunchy‑soft duet of oats, nuts, and a hint of sweet‑spice, all while keeping the nutrition police from knocking on your pantry door.
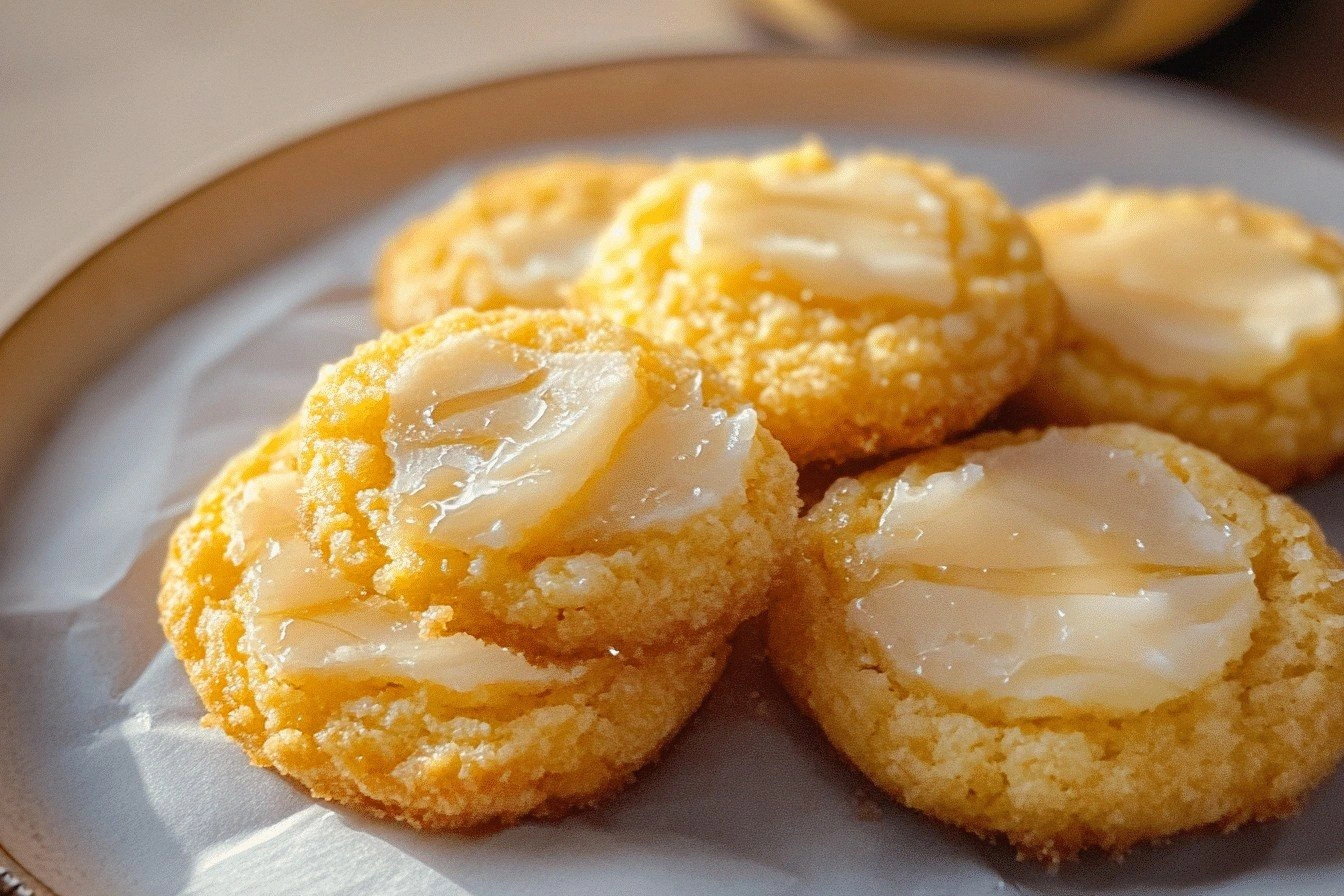
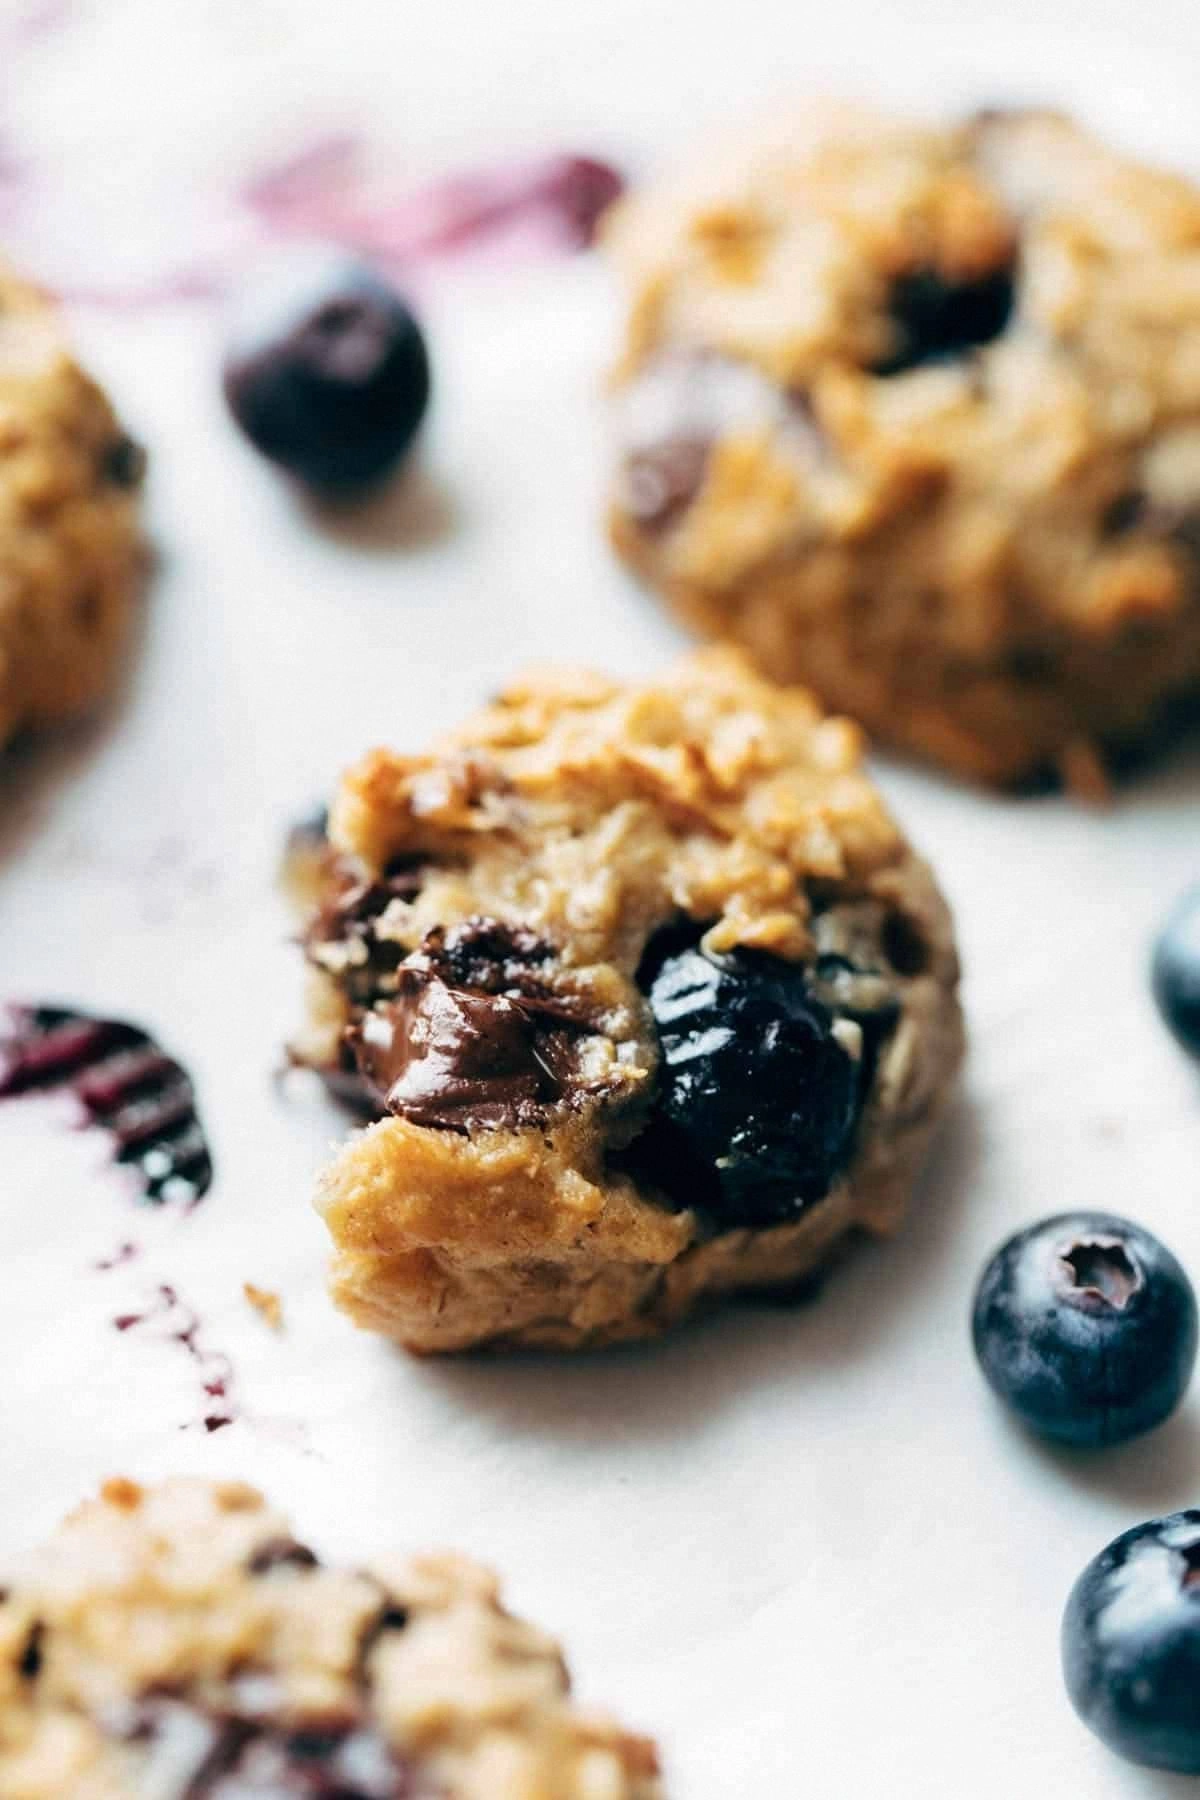
The moment you open the oven, a wave of warm cinnamon and toasted almond mingles with the faint caramel of honey, instantly waking up every sense. The cookies themselves have a golden‑brown top that crackles faintly as you bite, the edges giving way to a chewy, slightly moist center that feels like a secret stash of energy. Imagine the satisfying snap of a granola bar meeting the comforting familiarity of a classic chocolate chip cookie—only better because it’s built to fuel you, not sabotage you. The aroma alone is enough to make you pause whatever you’re doing and lean in for a sniff, because that scent is the culinary equivalent of a sunrise: bright, hopeful, and impossible to ignore.
What truly sets this version apart is the balance of “healthy” and “ish.” Most so‑called healthy breakfast recipes either dump a ton of sugar or skimp on flavor, leaving you with something that tastes like a cardboard box you’d find in a gym locker. This recipe, however, embraces the indulgent side—chocolate chips, a splash of vanilla, and a drizzle of honey—while anchoring everything with whole‑grain oats, almond flour, and a sprinkle of protein‑packed Greek yogurt. The secret lies in a technique I’ll reveal later: a brief “rest” period that lets the dry ingredients absorb the wet, creating a texture that’s both firm enough to hold together and soft enough to melt in your mouth.
Okay, ready for the game‑changer? I’m about to walk you through every single step—mixing, resting, baking, and even the little hacks that turn a good cookie into the best version you’ll ever make at home. By the end, you’ll wonder how you ever settled for bland, store‑bought breakfast options. And trust me, I dare you to taste this and not go back for seconds.
What Makes This Version Stand Out
- Taste: A perfect marriage of sweet honey, rich chocolate, and a whisper of toasted almond that dances on the palate without overwhelming it.
- Texture: Crunchy on the edges, chewy in the middle, and a subtle crumb that holds together like a well‑engineered Lego block.
- Simplicity: Only ten core ingredients, all pantry‑friendly, and a single bowl method that keeps cleanup to a minimum.
- Uniqueness: The “rest‑and‑rehydrate” step lets oats and almond flour soak up moisture, creating a moist interior that most recipes miss.
- Crowd Reaction: These cookies disappear faster than fresh muffins at a office meeting—people actually ask for the recipe before the baking is done.
- Ingredient Quality: Using raw honey and unsweetened almond flour adds depth and keeps the glycemic load lower than typical breakfast treats.
- Cooking Method: Baking at a moderate temperature ensures even Browning, while a short cooling period locks in the perfect crumb.
- Make‑Ahead Potential: Store them in an airtight container for up to a week, or freeze for a month—no loss of flavor or texture.
Inside the Ingredient List
The Flavor Base
Raw honey (¼ cup): Provides natural sweetness and a floral undertone that balances the earthiness of oats. Skipping honey means you’ll need a sugary substitute, which can overpower the subtle flavors. If you’re allergic, maple syrup works as a 1:1 swap, though it adds a lighter maple note.
Unsweetened almond flour (½ cup): Adds a nutty depth without extra carbs. It also helps bind the dough, giving the cookies a tender crumb. Using regular all‑purpose flour would make them denser and more cake‑like, which isn’t the goal here.
Vanilla extract (1 tsp): The aromatic backbone that lifts all other flavors, making each bite feel like a mini‑vacation. A dash of almond extract can intensify the nuttiness if you’re feeling adventurous.
The Texture Crew
Rolled oats (2 cups): Provide the hearty, chewy mouthfeel that defines a breakfast cookie. If you blend them into a finer powder, you’ll lose that satisfying bite. For gluten‑free, ensure they’re certified gluten‑free oats.
Greek yogurt (½ cup, plain, low‑fat): Introduces moisture and a subtle tang, keeping the cookies from drying out. Skipping yogurt makes the dough dry and crumbly; you can replace it with unsweetened applesauce, but expect a softer texture.
Peanut butter (¼ cup, natural): Gives richness and a protein boost while helping the cookies hold together. Using a processed, sugary version will add unwanted sugars and change the texture to greasy.
Chocolate chips (½ cup, dark, 70% cacao): Offer bursts of bittersweet flavor that contrast the sweet honey. Milk chocolate works, but the cookies become sweeter and lose that sophisticated edge.
The Unexpected Star
Chia seeds (1 tbsp): Tiny powerhouses that gel when wet, adding a subtle crunch and extra omega‑3s. Omit them and you lose a hidden nutritional boost, though the cookies will still be delicious.
Ground cinnamon (1 tsp): Warmth that evokes cozy mornings, enhancing the honey’s floral notes. Skipping cinnamon makes the flavor profile flat; you could substitute nutmeg for a different spice nuance.
The Final Flourish
Sea salt (½ tsp): A pinch that brightens the sweet elements and balances the overall flavor. Over‑salting will make the cookies taste like a pretzel, so keep it modest.
Baking powder (½ tsp): Gives a slight lift, ensuring the cookies aren’t too dense. Forgetting it leads to a heavy, compact cookie that lacks that airy bite.
Everything’s prepped? Good. Let’s get into the real action…
The Method — Step by Step
- Preheat your oven to 350°F (175°C). While the oven warms, line a baking sheet with parchment paper; this prevents sticking and gives the cookies a crisp bottom. The heat will rise steadily, so you’ll hear a faint hum from the oven that signals it’s ready for action.
- In a large mixing bowl, whisk together the rolled oats, almond flour, baking powder, sea salt, and ground cinnamon. This dry blend should look uniform, with a faint amber hue from the cinnamon. Kitchen Hack: Toast the oats lightly in a dry pan for 3‑4 minutes before adding them; this deepens the flavor and adds a nutty aroma.
- In a separate bowl, combine the raw honey, peanut butter, Greek yogurt, vanilla extract, and almond butter. Beat until smooth; the mixture should look glossy and slightly thick, like a thick caramel. This is where the scent of honey starts to fill the kitchen, making you smile before any baking even begins.
- Pour the wet mixture into the dry ingredients, stirring gently with a spatula. You’ll notice the oats beginning to soak up the liquid, creating a slightly sticky dough. Watch the texture: if it feels too dry, add a splash of milk (dairy or plant‑based) – but be cautious, you don’t want a runny batter.
- Fold in the chocolate chips and chia seeds, ensuring they’re evenly distributed. The dark chips should speckle the dough like tiny night‑sky constellations.Watch Out: Over‑mixing can develop gluten in the almond flour, leading to tougher cookies. Stir just until everything is incorporated.
- Allow the dough to rest for exactly 10 minutes on the countertop. This step is pure magic: the oats fully absorb the moisture, and the chia seeds gelatinize, creating a cohesive texture that prevents crumbling. Set a timer; the anticipation builds as you hear the faint ticking.
- Using a cookie scoop or a tablespoon, portion out the dough onto the prepared baking sheet, spacing them about 2 inches apart. Each mound should be roughly the size of a golf ball; this ensures even spreading. Lightly press the tops with the back of a spoon to flatten them just a touch—this helps the edges crisp up.
- Bake for 12‑15 minutes, rotating the sheet halfway through. You’ll know they’re done when the edges turn golden‑brown and the centers look set but still slightly soft. The aroma at this stage is intoxicating, a blend of toasted nuts and caramelized honey that makes you want to peek inside the oven.
- Remove the cookies from the oven and let them cool on the sheet for 5 minutes before transferring to a wire rack. The cookies will firm up as they cool, and the scent will linger, making the kitchen feel like a cozy café. This final pause is essential—if you move them too early they’ll break; if you wait too long they’ll harden.
Insider Tricks for Flawless Results
The Temperature Rule Nobody Follows
Most home bakers set the oven to “350°F and forget.” The truth is, a slight adjustment to 340°F gives the cookies a gentler rise, ensuring the edges stay crisp while the center stays moist. I once baked at 375°F and ended up with a burnt crust and a doughy middle—lesson learned.
Why Your Nose Knows Best
When the cookies are about 2 minutes from finishing, the kitchen will fill with a fragrant, buttery‑honey perfume. If you catch that scent early, pull them out for a softer interior; if you wait until it’s too strong, you’ll get a deeper caramelization. Trust your nose more than the timer.
The 5‑Minute Rest That Changes Everything
After baking, letting the cookies sit on the rack for just five minutes allows steam to redistribute, creating that perfect balance of crisp exterior and chewy middle. Skipping this step leaves you with an overly dry bite—something I learned after a rushed morning.
Chocolate Chip Placement Precision
Instead of mixing chips directly into the dough, fold them in at the very end and then gently press a few extra on top of each cookie. This ensures every bite gets a chocolate hit, and the tops get a glossy finish that looks bakery‑ready.
Freeze‑Then‑Bake for Consistency
If you prep the dough ahead of time and freeze the scoops, the cookies bake with a consistently uniform shape. I’ve frozen batches for weeks; they bake just as well as fresh dough, and the chill helps prevent spreading.
Creative Twists and Variations
This recipe is a playground. Here are some of my favorite ways to switch things up:
Berry Burst
Swap half the chocolate chips for dried cranberries or freeze‑dried blueberries. The tartness cuts through the sweetness, making the cookies perfect for a post‑run snack.
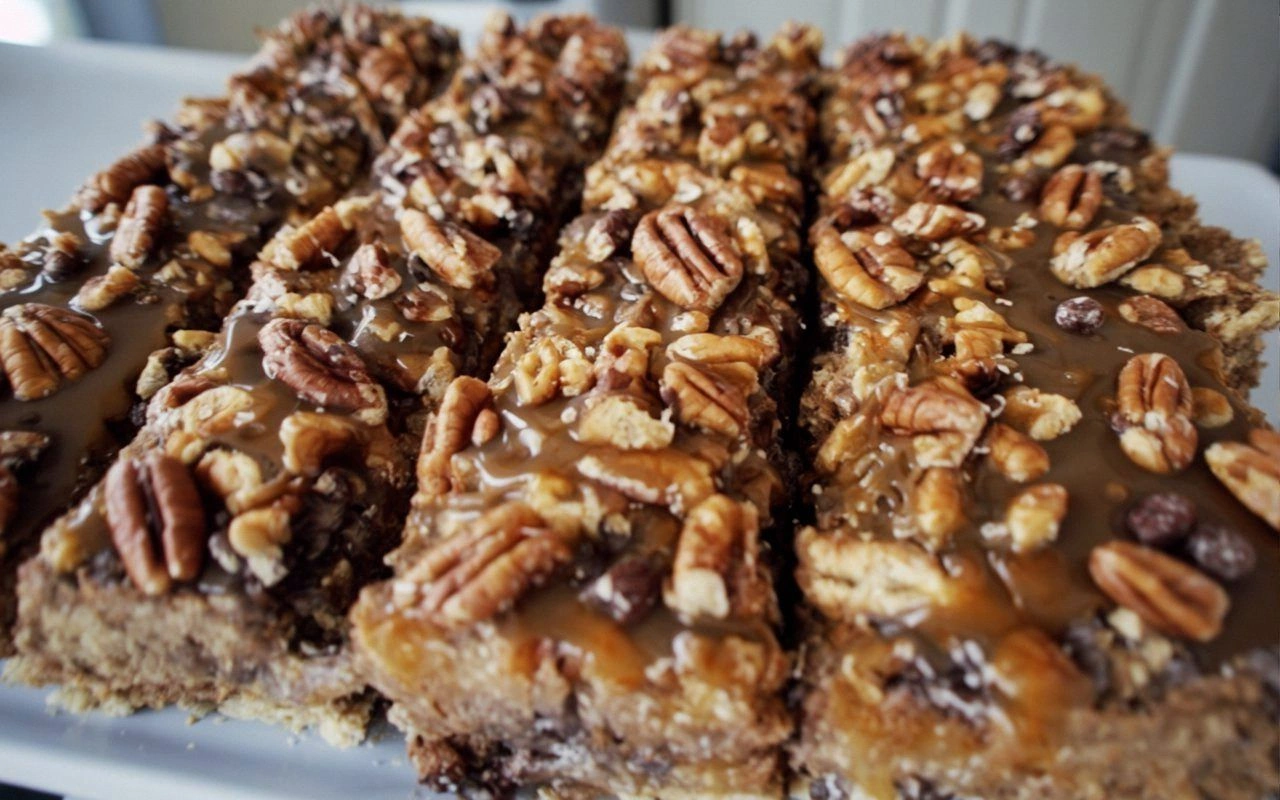
Nutty Nutmeg
Replace the chia seeds with chopped hazelnuts and add a pinch of freshly grated nutmeg. The result is a cookie that tastes like a caramel‑nut latte, ideal for cozy autumn mornings.
Protein Power
Stir in a scoop of vanilla whey protein powder and double the peanut butter. The cookies become a post‑gym recovery treat without sacrificing flavor.
Morning Citrus
Add zest of one orange and swap half the honey for orange marmalade. The bright citrus lifts the whole profile, making the cookies feel like a sunny brunch.
Double Chocolate
Increase the dark chocolate chips to ¾ cup and add 2 tbsp cocoa powder to the dry mix. This turns the cookie into a decadent, yet still “healthy‑ish,” chocolate lover’s dream.
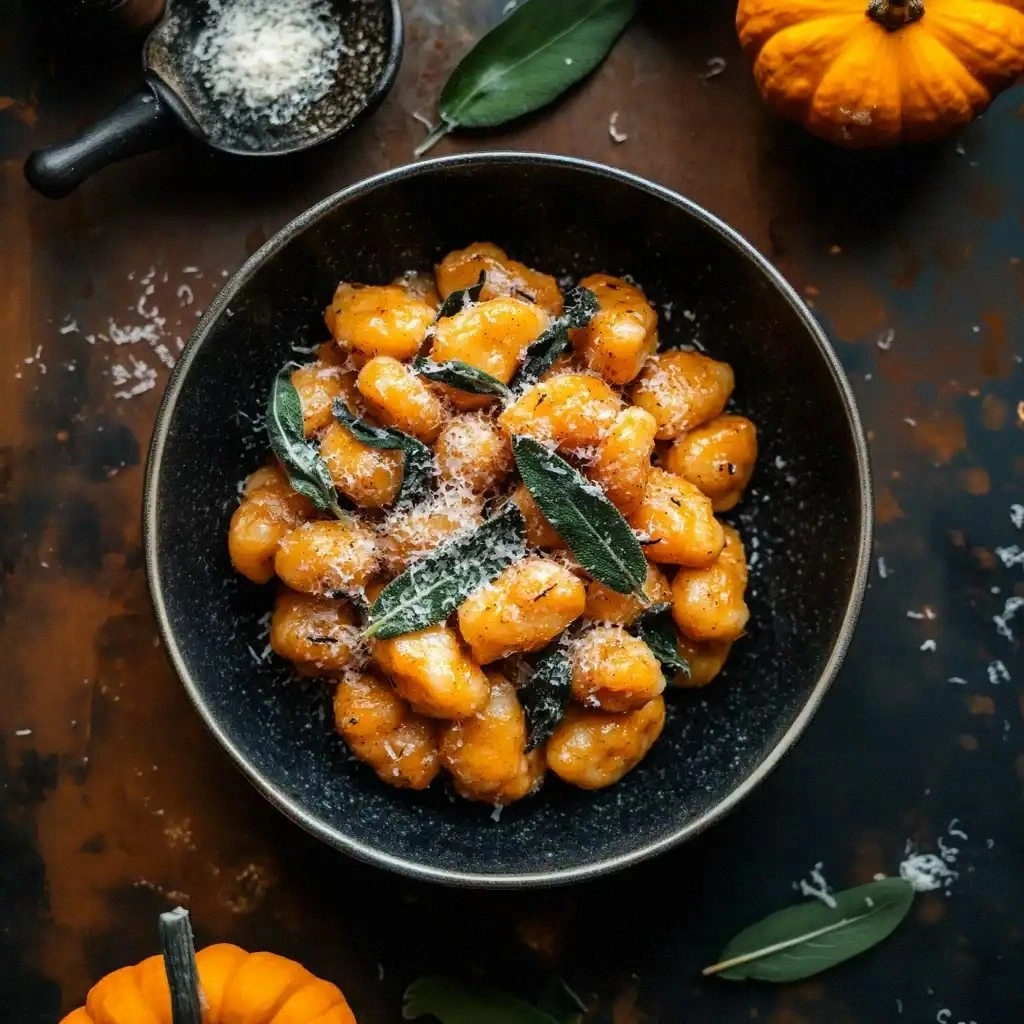
Spiced Pumpkin
Incorporate ¼ cup pumpkin puree and a dash of pumpkin pie spice, while reducing honey by a tablespoon. The cookies become a seasonal favorite that still holds up for a quick weekday breakfast.
Storing and Bringing It Back to Life
Fridge Storage
Place the cooled cookies in an airtight container with a paper towel at the bottom to absorb excess moisture. They stay fresh for up to 7 days, and the texture remains pleasantly chewy.
Freezer Friendly
Separate each cookie with a sheet of parchment, then pack them in a zip‑top freezer bag. Freeze for up to 3 months. When you’re ready, let them thaw at room temperature for 10 minutes.
Best Reheating Method
To revive that fresh‑out‑the‑oven crunch, pop the cookie on a pre‑heated skillet over low heat for 30 seconds, or microwave for 10 seconds with a tiny splash of water on the side. The steam revitalizes the interior, while the skillet restores the edge crispness.