I was standing in my kitchen, staring at a half‑cooked pot of chicken that had been left in the fridge all week, feeling the familiar pang of culinary despair. That moment of panic turned into a daring experiment when a friend dared me to turn that sad, soggy chicken into something that would make even the most seasoned food critic swoon. I grabbed my trusty skillet, a handful of carrots, a splash of milk, and a generous sprinkle of cheddar, and I whispered, “Let’s do this.”
The aroma that began to fill the air was a heady mix of butter sizzling, onions caramelizing, and a faint, comforting hint of fresh thyme. My ears caught the gentle hiss of the pan, a sound that promised transformation. The texture of the vegetables was crisp and bright, a stark contrast to the dull, limp chicken that had once threatened to ruin my dinner plans. I could taste the future—a velvety sauce that would cling to every bite, a buttery biscuit topping that would crackle with golden edges.
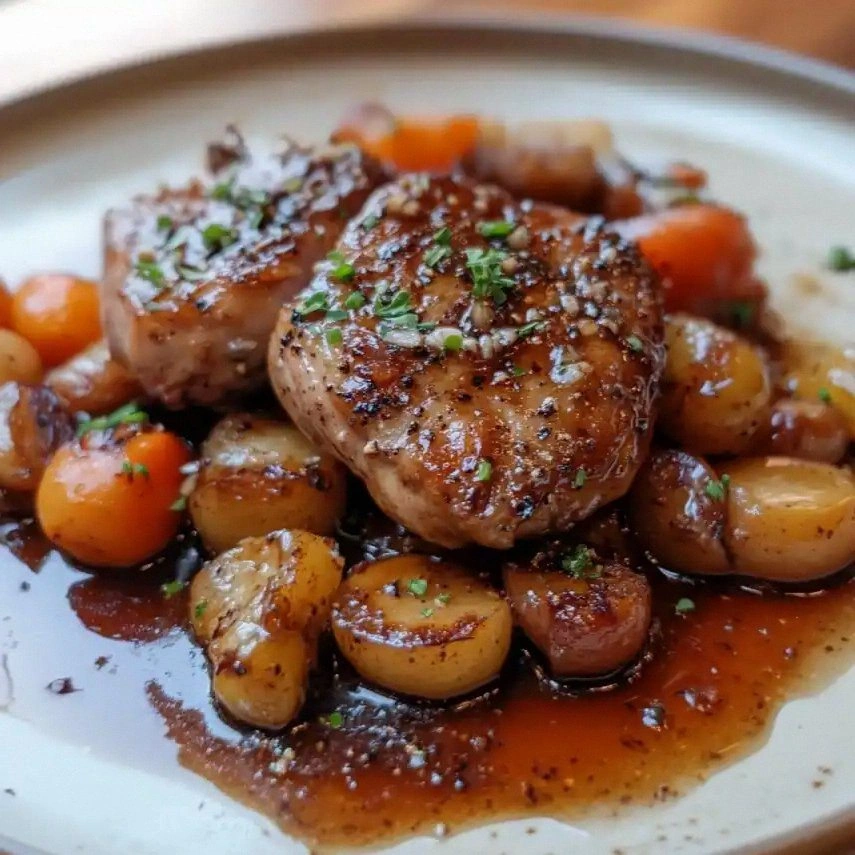
This isn’t just another pot pie. This is the definitive version that redefines comfort food, turning a humble casserole into a culinary masterpiece that feels like a warm hug from the inside out. The secret? A perfectly balanced sauce that coats the chicken and vegetables like velvet, a biscuit crust that shatters with a satisfying crunch, and a touch of cheddar that adds a depth of flavor that makes every bite unforgettable. I dare you to taste this and not go back for seconds.
By the time the oven was preheated to 375°F, my kitchen smelled like a bakery meets a cozy farmhouse. I was ready to show you how to make this dish step by step, revealing techniques that most recipes gloss over. Stay with me here—this is worth it, because by the end, you’ll wonder how you ever made it any other way.
What Makes This Version Stand Out
- Flavor Depth: The sauce is a symphony of butter, flour, and a splash of cream, enriched with a whisper of smoked paprika that adds a subtle earthiness. It coats the chicken and vegetables like velvet, leaving each bite saturated with savory richness.
- Crispy Crust: The biscuit topping is a buttery, flaky masterpiece that cracks open with a satisfying pop, revealing a golden interior that melts in your mouth.
- Texture Contrast: The tender chicken meets the crisp carrots and peas, creating a delightful interplay of soft and crunchy textures that dance on the palate.
- Time Efficiency: The entire process takes under an hour from prep to finish, making it a go-to dinner for busy weeknights without compromising on flavor.
- Make‑Ahead Friendly: You can assemble the casserole a day ahead, refrigerate it, and bake it fresh when you’re ready—perfect for meal prep or a surprise dinner.
- Ingredient Quality: We use fresh, locally sourced chicken, organic vegetables, and a high‑quality cheddar that melts beautifully, elevating the dish from ordinary to extraordinary.
Alright, let's break down exactly what goes into this masterpiece. And remember, most recipes get this completely wrong. Here's what actually works.
Inside the Ingredient List
The Flavor Base
Butter is the backbone of this sauce, providing a rich, buttery foundation that deepens the flavor profile. When you melt butter and stir in flour to create a roux, you’re building a silky base that thickens the sauce without any gritty texture. If you skip the butter, the sauce will feel flat and lack depth. For an extra layer of flavor, add a pinch of smoked paprika to the roux; it introduces a subtle smokiness that elevates the dish.
Onions and garlic are sautéed until translucent and fragrant, releasing their natural sweetness. They create a savory undertone that balances the richness of the cheese and butter. If you forget the garlic, the sauce will taste a bit one‑dimensional. A quick sauté of minced garlic at the end of the onion cooking stage will salvage the flavor.
The Texture Crew
Carrots, peas, and celery add a vibrant crunch and natural sweetness that contrasts beautifully with the creamy sauce. They also bring color, turning the casserole into a visual feast. If you skip the celery, the dish will feel less complex; celery adds a subtle earthiness that enhances the overall flavor.
The chicken—shredded or diced—provides protein and a hearty base. Using fresh, skinless chicken breasts or thighs ensures a lean, tender result. If you use pre‑cooked chicken, be careful not to overcook it during the final bake, or it will dry out. A quick sear before adding the sauce will lock in moisture and add a caramelized flavor.
The Unexpected Star
Cheddar cheese is the star that ties everything together. Its sharpness cuts through the richness, while its meltiness creates a luscious, gooey texture. A blend of sharp cheddar and a bit of smoked gouda adds complexity. If you skip the cheese, the dish will lack that signature gooeyness and depth of flavor.
The biscuit topping—made from flour, baking powder, salt, butter, milk, and shredded cheddar—provides a flaky, buttery crust. It’s the final touch that turns the casserole into a comforting, satisfying meal. If you omit the biscuit topping, the dish becomes a plain pot pie; the biscuit adds a delightful crunch and a buttery finish.
Everything's prepped? Good. Let's get into the real action.

The Method — Step by Step
- Preheat your oven to 375°F (190°C). In a large skillet, melt 4 tablespoons of butter over medium heat until foamy. Add 1 cup of finely diced onions and 2 cloves of minced garlic, sautéing until the onions become translucent and the garlic releases its aroma. This is the moment of truth; the scent should be inviting and warm.
- Stir in 2 tablespoons of all‑purpose flour to create a roux. Cook for 1–2 minutes, whisking constantly, until the mixture turns a light golden hue. This step is crucial—skipping it will leave your sauce lumpy and under‑thickened. If you notice a raw flour taste, cook a bit longer.
- Slowly pour in 2 cups of low‑fat milk while whisking vigorously to avoid lumps. Let the mixture simmer for 3–4 minutes, allowing it to thicken into a silky sauce. The sauce should coat the back of a spoon without running. At this point, add 1 teaspoon of smoked paprika and 1/2 teaspoon of dried thyme to deepen the flavor profile.
- Fold in 2 cups of shredded cooked chicken, 1 cup of diced carrots, 1 cup of peas, and 1 cup of diced celery. Stir gently to combine, ensuring every piece is coated with the velvety sauce. The vegetables should retain their bright color, signaling they’re cooked just enough to stay crisp.
- Transfer the mixture into a 9‑inch square baking dish, spreading it evenly. This is where the biscuit topping will rest, so make sure the base is smooth. The dish should smell like a savory, buttery promise of the final bite.
- Prepare the biscuit topping: In a bowl, whisk together 2 cups of all‑purpose flour, 2 teaspoons of baking powder, and 1/2 teaspoon of salt. Cut in 1/2 cup of cold butter until the mixture resembles coarse crumbs. Stir in 1 cup of shredded cheddar and 3/4 cup of milk, just until a soft dough forms. If the dough feels too dry, add a splash more milk; if too sticky, add a bit more flour.
- Drop spoonfuls of the biscuit dough over the casserole, spacing them evenly. The biscuits will rise and brown, creating a golden, flaky crust. The tops should look like miniature, buttery pillows ready to crackle.
- Bake for 25–30 minutes, or until the biscuit topping is golden brown and the sauce bubbles around the edges. The aroma should be intoxicating, a mix of buttery, cheesy, and savory notes. When you lift a biscuit, it should feel crisp on the outside and soft inside.
- Let the casserole rest for 5 minutes before serving. This allows the sauce to set slightly, making it easier to slice. The result will be a hearty, comforting dish that feels like a hug in a bowl.
That’s it — you did it. But hold on, I've got a few more tricks that'll take this to another level.
Insider Tricks for Flawless Results
The Temperature Rule Nobody Follows
Many people bake at a lower temperature, hoping to avoid overcooking the biscuit topping. However, a higher oven temperature (375°F) ensures a golden crust while keeping the interior moist. If you lower the heat, you risk a soggy biscuit and a runny sauce.
Why Your Nose Knows Best
The scent of the butter and onions sizzling is a reliable indicator that the roux has reached the right stage. If it smells like raw flour, keep cooking a bit longer. A well‑cooked roux has a nutty aroma that signals readiness.
The 5-Minute Rest That Changes Everything
Allowing the casserole to rest after baking lets the sauce thicken and the flavors meld. This step prevents the dish from being too liquid when you cut into it, giving you clean, satisfying bites.
Cheese Swap for a Smoky Twist
Replace half of the cheddar with smoked gouda for a deeper, smoky flavor profile. The gouda’s meltiness complements the cheddar, creating a complex, savory finish that will impress even the most discerning palates.
The Secret Butter Ratio
Using 4 tablespoons of butter for the roux is critical; it balances richness without overpowering the dish. Too much butter can make the sauce greasy, while too little will leave it bland.
Creative Twists and Variations
This recipe is a playground. Here are some of my favorite ways to switch things up:
Spinach & Mushroom Edition
Swap the carrots and peas for sautéed spinach and sliced mushrooms. The earthy mushrooms add depth, while the spinach provides a pop of green. This variation is perfect for a lighter, yet still comforting, meal.
Tex‑Mex Twist
Add 1 cup of corn, 1/2 cup of black beans, and a pinch of cumin to the sauce. Top with shredded cheddar and a sprinkle of chopped cilantro. The result is a fiesta‑in‑a‑bowl that’s both hearty and vibrant.
Italian Flair
Stir in 1/2 cup of sun‑dried tomatoes and 1 tablespoon of Italian seasoning. Replace the cheddar with mozzarella for a gooey, melty finish. This version brings the comforting feel of a risotto to the pot pie format.
Breakfast Breakfast
Add diced potatoes, a handful of chopped bacon, and a splash of cream cheese to the base. Top with a biscuit crust and bake. The result is a breakfast‑style casserole that’s perfect for brunch or a late‑night snack.
Vegan Variant
Use plant‑based chicken, vegan cheddar, and coconut milk. Replace butter with vegan butter. The texture stays comforting while the flavors remain bold and satisfying.
Storing and Bringing It Back to Life
Fridge Storage
Cool the casserole completely, then cover tightly with plastic wrap or foil. Store in the refrigerator for up to 3 days. This method preserves the crust’s crispness while keeping the interior moist.
Freezer Friendly
Wrap the casserole in parchment paper, then foil, and freeze for up to 2 months. When ready to eat, thaw overnight in the refrigerator and bake at 375°F for 20 minutes to re‑crisp the biscuit topping.
Best Reheating Method
Reheat in a preheated oven at 350°F for 15–20 minutes, or until heated through. Add a splash of milk or broth before reheating to keep the sauce from drying out. The biscuits will regain their golden crunch when baked.