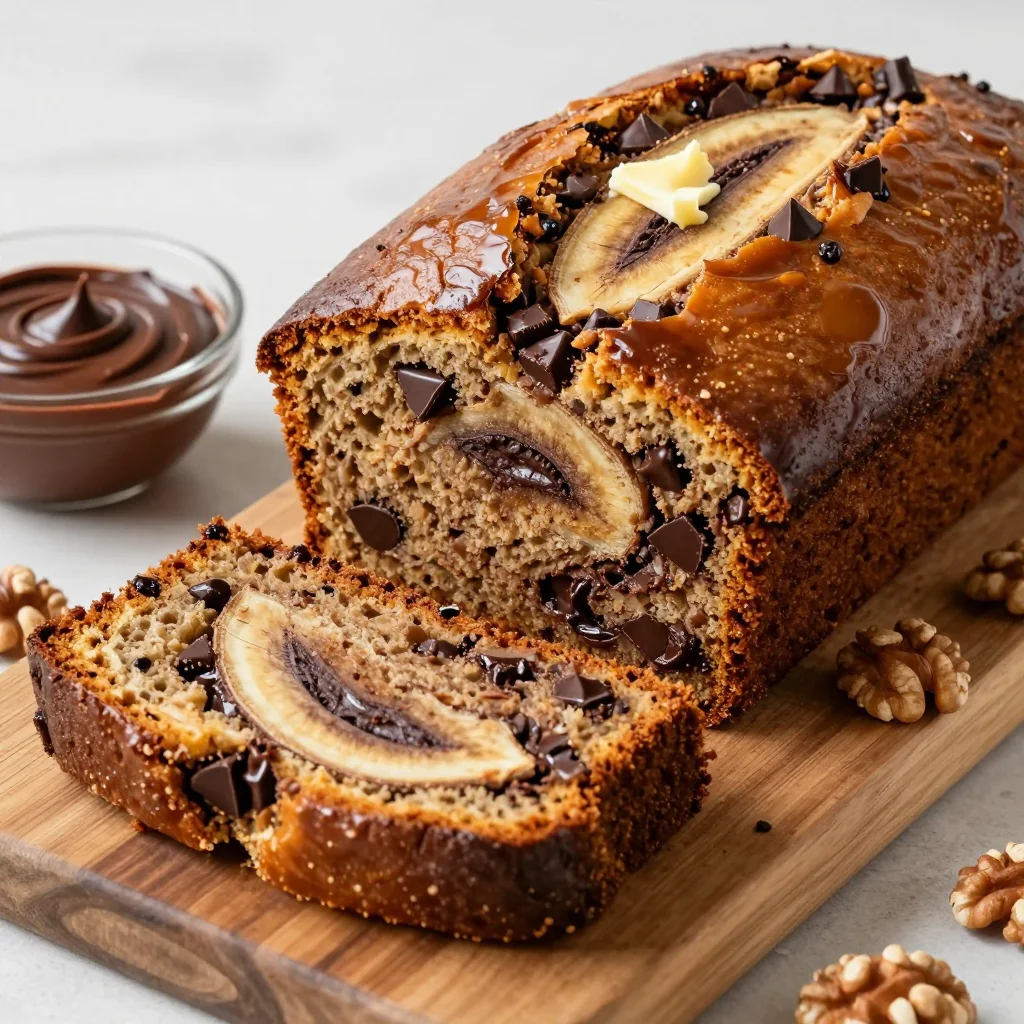
Picture this: I’m halfway through a marathon of sitcoms, a half‑filled fridge, and a craving that feels less like hunger and more like an existential crisis. I’m staring at a jar of creamy peanut butter, a handful of Butterfinger candy bars, and a cloud of powdered sugar that smells like childhood memories. Suddenly, the kitchen lights flicker, the toaster sputters, and I realize I’m on the brink of culinary catastrophe. I dare you to taste this and not go back for seconds. That’s when I decided to turn what could have been a snack disaster into the most indulgent treat I’ve ever made.
If you’ve ever tried to recreate those buttery, chocolate‑laden bites that come straight out of a candy shop, you know how tricky the texture can be. The right balance of crunch and chew is a dance that many recipes miss. This version, I swear, is hands down the best you’ll ever make at home. It’s not just a recipe; it’s a revelation that turns pantry staples into a crowd‑pleasing dessert that’s as easy as it is spectacular. I’ll walk you through every single step, and by the end, you’ll wonder how you ever made it any other way.
First, let’s talk about the sensory experience. The moment the crushed Butterfinger hits the pan, there’s a faint pop, a scent of caramelized chocolate that instantly lifts your spirits. The mixture becomes a glossy, sticky paste that coats your fingers like velvet, and the anticipation builds. The final product is a bite that shatters like thin ice when you press it, revealing a creamy core that oozes peanut butter and chocolate in perfect harmony. The crunch of graham cracker crumbs adds a subtle, nutty undertone that keeps the texture from becoming too sweet. This isn’t just a snack; it’s a memory in motion.
Now, I’ll give you a sneak peek at a technique that will make all the difference. I’ll show you how to temper the butter so it binds without clumping, and how to fold in powdered sugar to achieve that silky finish. These small tweaks are the secret sauce that elevates an ordinary batch to unforgettable. Stay with me here—this is worth it.
What Makes This Version Stand Out
- Texture: The combination of melted butter and powdered sugar creates a smooth, cohesive body that clings to every bite, while the graham cracker crumbs add a satisfying crunch that shatters like thin ice.
- Flavor: The creamy peanut butter and crushed Butterfinger deliver a rich, nutty chocolate profile that is both indulgent and comforting, with a hint of caramel that lingers.
- Simplicity: No elaborate steps—just mix, roll, and chill. I dare you to taste this and not go back for seconds.
- Versatility: These balls can be served at parties, used as a dessert topping, or packed into lunch boxes for a sweet surprise.
- Make‑ahead Potential: They hold up beautifully in the fridge and even freeze, making them a stress‑free treat for busy days.
- Ingredient Quality: Using a high‑quality creamy peanut butter and authentic Butterfinger bars ensures a depth of flavor that generic brands can’t match.
Inside the Ingredient List
The Flavor Base
Creamy peanut butter is the heart of this recipe. It provides a rich, nutty foundation that balances the sweetness of the candy. If you skip it, the mixture will taste flat and lack depth. For the best flavor, choose a peanut butter that’s smooth and unsweetened to let the chocolate shine.
The Texture Crew
Crushed Butterfinger candy bars bring that signature buttery crunch and chocolatey sweetness. They melt into the mixture, creating a glossy coat that clings to each bite. If you’re in a hurry, you can pre‑crush the bars in a plastic bag with a rolling pin; just be sure they’re finely broken for even distribution.
The Unexpected Star
Powdered sugar is more than a sweetener—it’s the binding agent that turns the mixture into a pliable dough. It absorbs excess moisture, giving the balls their firm yet melt‑in‑your‑mouth texture. If you’re watching sugar, you can replace it with coconut sugar or a sugar substitute that behaves similarly.
The Final Flourish
Graham cracker crumbs add a subtle, nutty crunch that complements the chocolate and peanut butter. They also provide structure, preventing the balls from becoming too dense. If you’re gluten‑free, you can substitute them with almond flour or a gluten‑free graham cracker mix.
The Binding Agent
Melted butter brings everything together, creating a cohesive mixture that’s easy to roll into balls. It also adds a buttery richness that enhances the overall flavor. If you’re lactose intolerant, a splash of coconut oil will work as a suitable alternative.
Everything's prepped? Good. Let's get into the real action...

The Method — Step by Step
- First, gather all your ingredients and bring them to room temperature. The peanut butter and butter should be soft enough to mix without resistance. This step ensures a smooth, even batter, preventing lumps that could ruin the texture.
- In a large mixing bowl, pour the creamy peanut butter and melted butter. Using a wooden spoon, stir until the mixture is creamy and well combined. The goal is a homogeneous base that will hold the crushed candy and crumbs together.
- Add the crushed Butterfinger candy bars to the bowl. Gently fold them in, making sure each piece is evenly distributed. The chocolate should be fully incorporated, creating a glossy sheen on the surface of the mixture.
- Sift the powdered sugar over the mixture to avoid clumps. Stir until the mixture thickens and becomes slightly sticky. This is the moment of truth—if it’s too runny, add a little more sugar; if it’s too thick, a splash of milk can help.
- Fold in the graham cracker crumbs until just combined. The crumbs should be evenly coated but not overmixed, which could break them down and compromise the crunch.
- Cover the bowl with plastic wrap and refrigerate for at least 30 minutes. Chilling firms the mixture, making it easier to roll into neat balls without sticking to your hands.
- Remove the chilled mixture from the fridge. Scoop out tablespoon‑sized portions and roll them between your palms to form uniform balls. The consistency should be firm enough to hold shape but soft enough to roll.
- Place the balls on a parchment‑lined tray and refrigerate again for 15 minutes to set. If you’re in a hurry, you can skip this step, but the balls will hold their shape better after chilling.
- Optional: For a caramelized finish, heat a small skillet over medium heat and lightly toast the balls, turning them until they develop a golden crust. This adds a delightful crunch and a subtle nutty aroma.
- Serve immediately or store in an airtight container at room temperature for up to 3 days. For longer storage, freeze the balls for up to 2 months, thawing them at room temperature before serving.
That’s it— you did it. But hold on, I've got a few more tricks that'll take this to another level. These insider tips will ensure your Butterfinger Balls are flawless every time.
Insider Tricks for Flawless Results
The Temperature Rule Nobody Follows
Many bakers skip the chilling step, leading to balls that crumble on the first bite. I always chill the mixture for at least 30 minutes; this firming process makes the dough easier to handle and gives the final product a better bite. If you’re short on time, chill the mixture in a shallow dish for a quick 10‑minute fix, but don’t skip it entirely.
Why Your Nose Knows Best
The aroma of toasted graham crumbs is a subtle indicator of quality. If the crumbs smell slightly nutty and caramelized, you’re on the right track. A flat, stale scent signals that the crumbs need a quick toast in a dry skillet before adding them to the mix.
The 5-Minute Rest That Changes Everything
After rolling the balls, let them rest on the tray for 5 minutes before refrigerating. This brief pause allows the surface to set, preventing the balls from flattening when placed in the fridge. It also lets the flavors meld, enhancing the overall taste.
The Sweetness Balance
If you find the mixture too sweet, reduce the powdered sugar by one tablespoon. Conversely, if you crave a richer chocolate profile, add an extra crushed Butterfinger bar. Taste as you go—your palate is the ultimate judge.
The Quick Toast
A quick sauté in a dry skillet adds a caramelized crust that gives the balls an extra layer of flavor. Keep the heat low to avoid burning the chocolate. This step is optional but highly recommended for a gourmet finish.
Creative Twists and Variations
This recipe is a playground. Here are some of my favorite ways to switch things up:
Nutty Explosion
Add chopped almonds or hazelnuts to the mixture for an extra crunch. The nuts complement the peanut butter flavor and add a sophisticated texture that’s perfect for a brunch spread.
Minty Surprise
Stir in a teaspoon of peppermint extract and dust the finished balls with crushed peppermint candies. The mint undertone pairs beautifully with chocolate, creating a refreshing twist that’s ideal for holiday parties.
Cocoa‑Rich Delight
Replace half of the powdered sugar with cocoa powder for a deep chocolate flavor. Add a pinch of sea salt to balance the sweetness and bring out the richness of the chocolate.
Caramel Swirl
Drizzle caramel sauce over the chilled balls before serving. The caramel adds a luscious, buttery sweetness that complements the peanut butter and chocolate base.
Spicy Kick
Sprinkle a pinch of cayenne pepper or red pepper flakes into the mixture. The subtle heat contrasts with the sweet ingredients, creating a complex flavor profile that surprises the palate.
Holiday Edition
Use chocolate‑covered pretzels instead of graham crumbs for a salty, crunchy texture. This variation is perfect for Christmas or Thanksgiving gatherings, offering a festive twist on a classic treat.
Storing and Bringing It Back to Life
Fridge Storage
Store the balls in an airtight container at room temperature for up to 3 days. The cool environment prevents the butter from melting and keeps the texture firm. Keep the container on a shelf away from direct sunlight.
Freezer Friendly
For longer storage, place the balls in a freezer‑safe bag or container and freeze for up to 2 months. Thaw them at room temperature before serving to restore the ideal texture. Freezing also makes them a convenient snack for road trips.
Best Reheating Method
To revive the crunch, gently toast the balls in a dry skillet over low heat for 1–2 minutes. If you prefer a softer bite, microwave them for 10 seconds—just enough to warm them without melting the chocolate. A tiny splash of water before reheating steams the surface back to perfection.