I’m going to be blunt: the first time I tried to bake pumpkin bread, it turned out about as exciting as a soggy leaf on the sidewalk. I was staring at a pale, crumbly loaf, wondering why my kitchen smelled like a bland autumn day instead of a cozy fireside hug. Then a daring friend dared me to “make it so moist it could double as a face mask,” and I laughed, but I also took that challenge seriously. I went back to the pantry, pulled out a bottle of canola oil, a fresh can of pumpkin puree, and a secret glaze that would change my life forever.
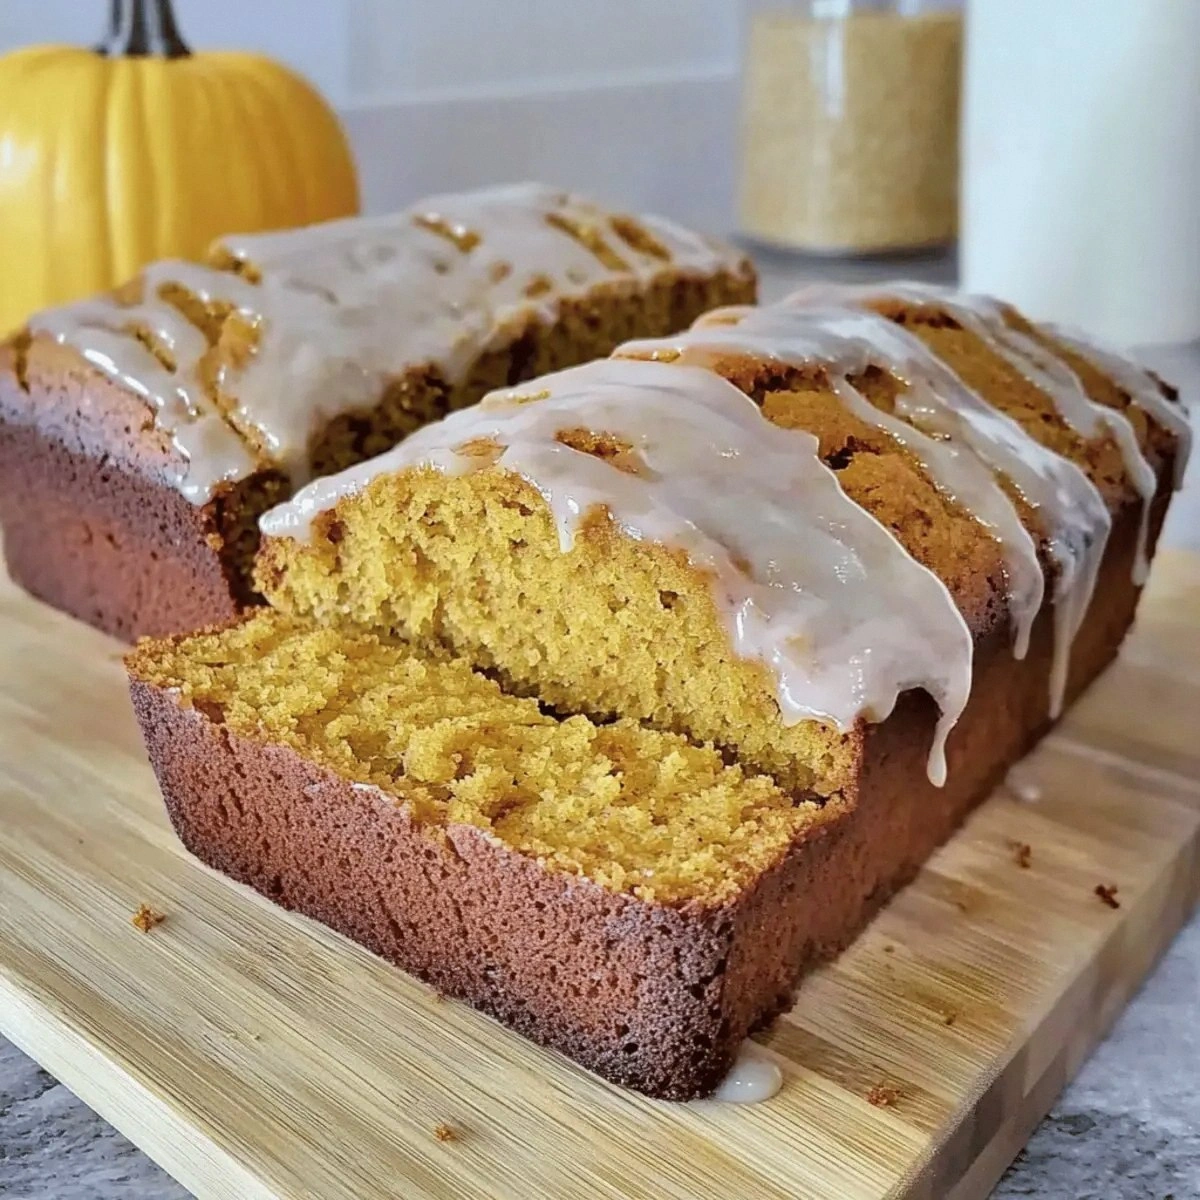
Picture this: the oven door swings open, and a golden‑brown crown of glaze shimmers like sunrise on a pumpkin patch. The aroma hits you first—spicy cinnamon, nutmeg, and a whisper of cloves that dance with the sweet, buttery scent of sugar and oil. You hear the faint crackle of the crust pulling away from the pan, a sound that says, “I’m ready.” Your fingertips feel the loaf’s surface, soft and yielding, yet the edges have that perfect, almost caramelized snap that makes you want to bite right away.
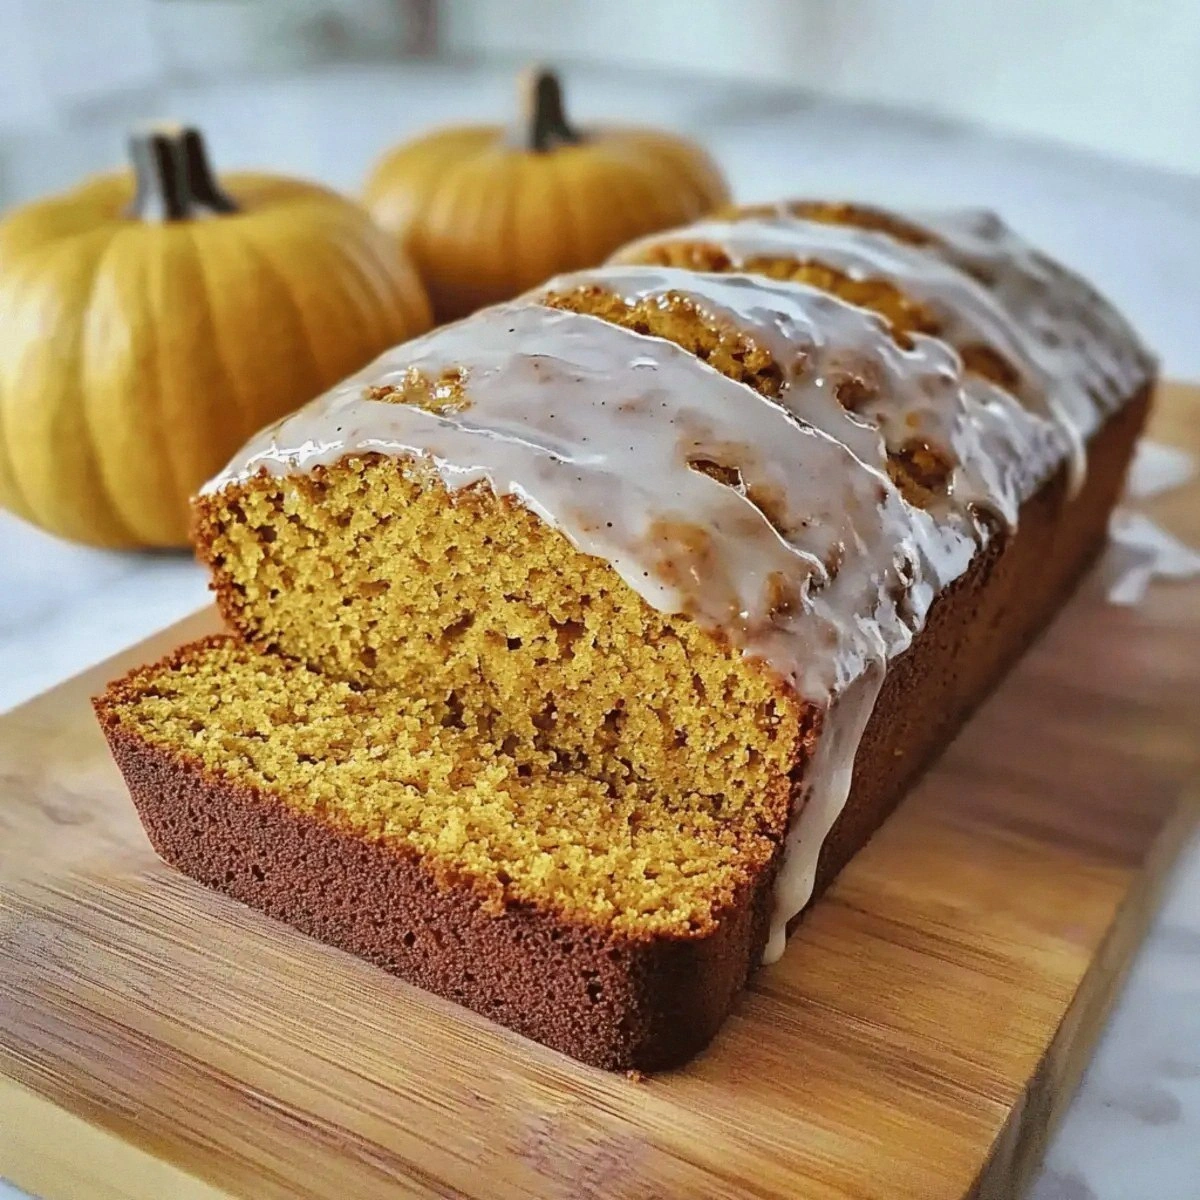
What makes this version the undisputed champion? Most pumpkin breads are dry, dense, or just plain forgettable. I’ve cracked the code by balancing oil and sugar, using a two‑stage baking method, and finishing with a glaze that’s both glossy and sweet without being cloying. The glaze is the game‑changer: a thin veil of confectioners’ sugar, vanilla, and a splash of milk that sets into a subtle sparkle, turning an ordinary loaf into a centerpiece worthy of Thanksgiving tables and Instagram feeds alike.
I’m about to spill the beans on a technique most recipes overlook: a brief “steam‑pause” after the first 15 minutes of baking that keeps the crumb unbelievably moist. I dare you to taste this and not go back for seconds. Let me walk you through every single step — by the end, you’ll wonder how you ever made it any other way.
What Makes This Version Stand Out
- Moisture Mastery: The combination of canola oil and a high sugar ratio creates a tender crumb that stays soft for days, unlike the crumbly, dry versions that crumble at the slightest touch.
- Glaze Glory: A simple confectioners’ sugar glaze adds a glossy finish that looks bakery‑level without any fancy equipment, and it adds a sweet crunch that contrasts beautifully with the soft interior.
- Flavor Depth: The balanced spice blend—cinnamon, nutmeg, and cloves—delivers a layered taste that evolves as you eat, each bite revealing a new nuance.
- Simplicity: No fancy mixers, no sour cream, no yogurt. Just pantry staples you already have, making this recipe accessible to anyone, even if you’ve never baked before.
- Crowd‑Pleaser: Whether it’s a family brunch, a holiday gathering, or a solo snack, this bread gets rave reviews and often disappears before you can say “pumpkin.”
- Make‑Ahead Magic: The loaf freezes beautifully, and the glaze re‑hardens after reheating, giving you a ready‑to‑serve treat any time of the year.
- Visual Appeal: The golden glaze and speckled spice flecks turn an ordinary loaf into a visual masterpiece that brightens any fall table.
- Ingredient Integrity: Using real pumpkin puree (not pumpkin pie filling) ensures authentic flavor and a vibrant orange hue that truly brightens your fall.
Inside the Ingredient List
The Flavor Base
Pumpkin puree is the heart of this bread, providing moisture, subtle earthiness, and that iconic orange hue. Choose a 100% pure pumpkin puree—no added sugars or spices—so you control the flavor profile. If you skip it, you’ll end up with a bland, dry crumb that feels more like a biscuit than a loaf. A good tip: give the can of pumpkin a quick shake before opening to redistribute any settled moisture.
The Spice Crew
Cinnamon, nutmeg, and cloves work together like a well‑rehearsed choir. Cinnamon brings warmth, nutmeg adds a sweet, woody undertone, and cloves deliver that sharp, festive kick. Missing any of these will make the bread feel one‑dimensional. If you’re allergic to cloves, a pinch of allspice can stand in without sacrificing the holiday vibe.
The Texture Crew
All‑purpose flour provides structure, while canola oil ensures a tender crumb that stays moist. The oil’s neutral flavor lets the spices shine, and its liquid state helps the batter blend without over‑mixing. Baking soda and powder give the loaf its rise; too much soda would give a metallic taste, too little and you’d get a dense brick. Salt is the silent hero, enhancing every other flavor without being noticeable.
The Unexpected Star
Confectioners’ sugar isn’t just for the glaze; a tablespoon folded into the batter adds a delicate sweetness that balances the spices. The glaze itself is a thin veil of powdered sugar, vanilla, and a splash of milk—think of it as the frosting’s sophisticated cousin. If you’re vegan, swap the milk for almond milk and the glaze will stay just as glossy.
Everything’s prepped? Good. Let’s get into the real action…
The Method — Step by Step
Preheat your oven to 350°F (175°C) and grease a 9×5‑inch loaf pan with a thin layer of oil, then line it with parchment for an easy release. The moment the oven clicks, you’ll hear that comforting hum that tells you the kitchen is about to transform.
Kitchen Hack: Place the pan on a baking sheet; this prevents the bottom from over‑browning if your oven runs hot.In a large mixing bowl, whisk together the flour, baking soda, baking powder, salt, cinnamon, nutmeg, and cloves. You’ll see a speckled cloud of spices that promises a fragrant explosion later on.
In a separate bowl, combine the canola oil, granulated sugar, pumpkin puree, eggs, and vanilla extract. Beat until the mixture is smooth and glossy; this is the moment where the batter starts to look like liquid amber.
Watch Out: Over‑beating the eggs can incorporate too much air, leading to a cake‑like texture you don’t want in bread.Gradually fold the dry ingredients into the wet mixture, stirring just until you see no more flour streaks. The batter should be thick but pourable; resist the urge to over‑mix, or you’ll develop gluten and lose that coveted fluffiness.
Pour the batter into the prepared loaf pan, smoothing the top with a spatula. The surface should be even, ready for a brief “steam‑pause” that keeps the interior moist.
Slide the pan into the oven and bake for 15 minutes. At this point, the edges will start to pull away from the sides, and you’ll hear a faint crackle—your nose will pick up the first hints of toasted pumpkin.
Without opening the door, turn the oven temperature down to 325°F (163°C) and let the loaf continue baking for another 15‑20 minutes. This lower temperature prevents the crust from hardening too quickly, allowing the interior to stay moist.
Kitchen Hack: Place a shallow pan of hot water on the lower rack; the steam helps keep the crumb from drying out.When a toothpick inserted into the center comes out clean (or with just a few moist crumbs), remove the loaf and let it cool in the pan for 10 minutes. This short cooling period lets the steam finish its job, setting the crumb perfectly.
Meanwhile, whisk together the confectioners’ sugar, vanilla, and milk (or water) until you have a smooth glaze. It should be thick enough to coat the back of a spoon but still pourable.
Turn the loaf out onto a wire rack, drizzle the glaze over the top, and use a spatula to spread it evenly. The glaze will set into a subtle, glossy finish that adds a sweet crunch. Let the glaze harden for about 5 minutes before slicing.
That’s it — you did it. But hold on, I’ve got a few more tricks that’ll take this to another level…
Insider Tricks for Flawless Results
The Temperature Rule Nobody Follows
Most home bakers bake at a constant 350°F, but dropping the heat halfway through prevents the crust from forming a hard shell. This “two‑stage” method keeps the interior steam‑rich, yielding a softer crumb that stays moist for days. I once tried the single‑temperature route and ended up with a bread that cracked like dry toast—lesson learned.
Why Your Nose Knows Best
Your sense of smell is a more reliable doneness indicator than a timer. Around the 30‑minute mark, you’ll notice a sweet, nutty aroma rising from the oven; that’s the cue to check the toothpick. If the scent is still faint, give it another 5 minutes. Trusting your nose prevents over‑baking, which is the biggest culprit of dry pumpkin bread.
The 5‑Minute Rest That Changes Everything
After you pull the loaf from the oven, resist the urge to slice immediately. Let it rest for exactly five minutes in the pan; this allows the steam to redistribute, making each slice uniformly moist. A friend once sliced right away and complained the middle was dry—don’t be that friend.
Glaze Timing is Everything
Apply the glaze while the loaf is still warm but not piping hot. If the loaf is too hot, the glaze will melt and run off; if it’s too cool, the glaze will set too quickly and crack. Aim for the sweet spot—about 10 minutes after removing from the oven.
Egg Size Matters
Large eggs are called “large” for a reason: they provide the perfect amount of protein and fat to bind the batter without making it too heavy. Using medium eggs can lead to a crumb that’s a little too dense, while extra‑large eggs may make the loaf rise too quickly and then collapse.
Creative Twists and Variations
This recipe is a playground. Here are some of my favorite ways to switch things up:
Maple‑Walnut Swirl
Add ¼ cup pure maple syrup to the wet mixture and fold in ½ cup toasted walnuts. The maple deepens the sweetness, while the walnuts add a buttery crunch that pairs beautifully with the pumpkin.
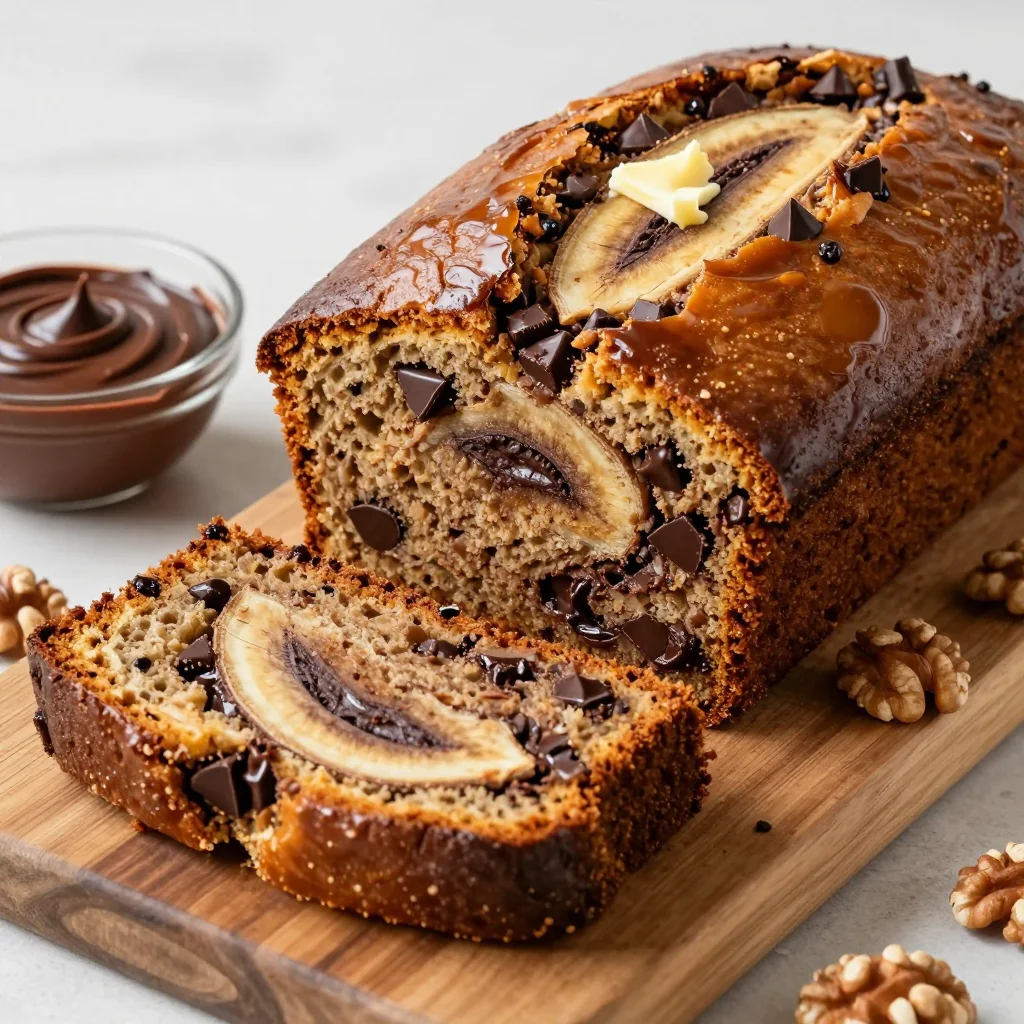
Chocolate Chip Surprise
Stir in ¾ cup dark chocolate chips just before folding in the dry ingredients. The melty chocolate pockets create a decadent contrast to the spice‑laden crumb, turning the loaf into a dessert‑grade treat.
Cranberry‑Orange Zest
Mix ½ cup dried cranberries and the zest of one orange into the batter. The tart cranberries and citrus zing lift the flavor profile, making it perfect for holiday brunches.
Spiced Chai Infusion
Replace half of the water in the glaze with strongly brewed chai tea, and add a pinch of cardamom to the spice blend. This gives the loaf an exotic, aromatic twist that’s perfect for cool evenings.
Vegan Friendly
Swap the canola oil for coconut oil, replace the eggs with a “flax egg” (1 tbsp ground flaxseed + 3 tbsp water per egg), and use almond milk in the glaze. The result is a plant‑based loaf that still boasts that coveted moist texture.
Storing and Bringing It Back to Life
Fridge Storage
Wrap the cooled loaf tightly in plastic wrap or store it in an airtight container. It will stay fresh for up to 5 days, and the glaze will retain its subtle shine. For an extra touch, place a slice of bread on top of the glaze to absorb any excess moisture.
Freezer Friendly
Slice the loaf before freezing; this lets you pull out individual pieces without thawing the whole loaf. Wrap each slice in parchment, then a layer of foil, and store in a zip‑top bag. It will keep for up to 3 months. When you’re ready, microwave for 20 seconds or toast lightly for a warm treat.
Best Reheating Method
To revive a refrigerated slice, preheat your oven to 300°F (150°C), place the slice on a baking sheet, and add a tiny splash of water (about a teaspoon) to the top. The steam will bring back that soft interior while the glaze re‑crispes. In the microwave, cover with a damp paper towel for 15 seconds.