Love this? Pin it for later! 📌
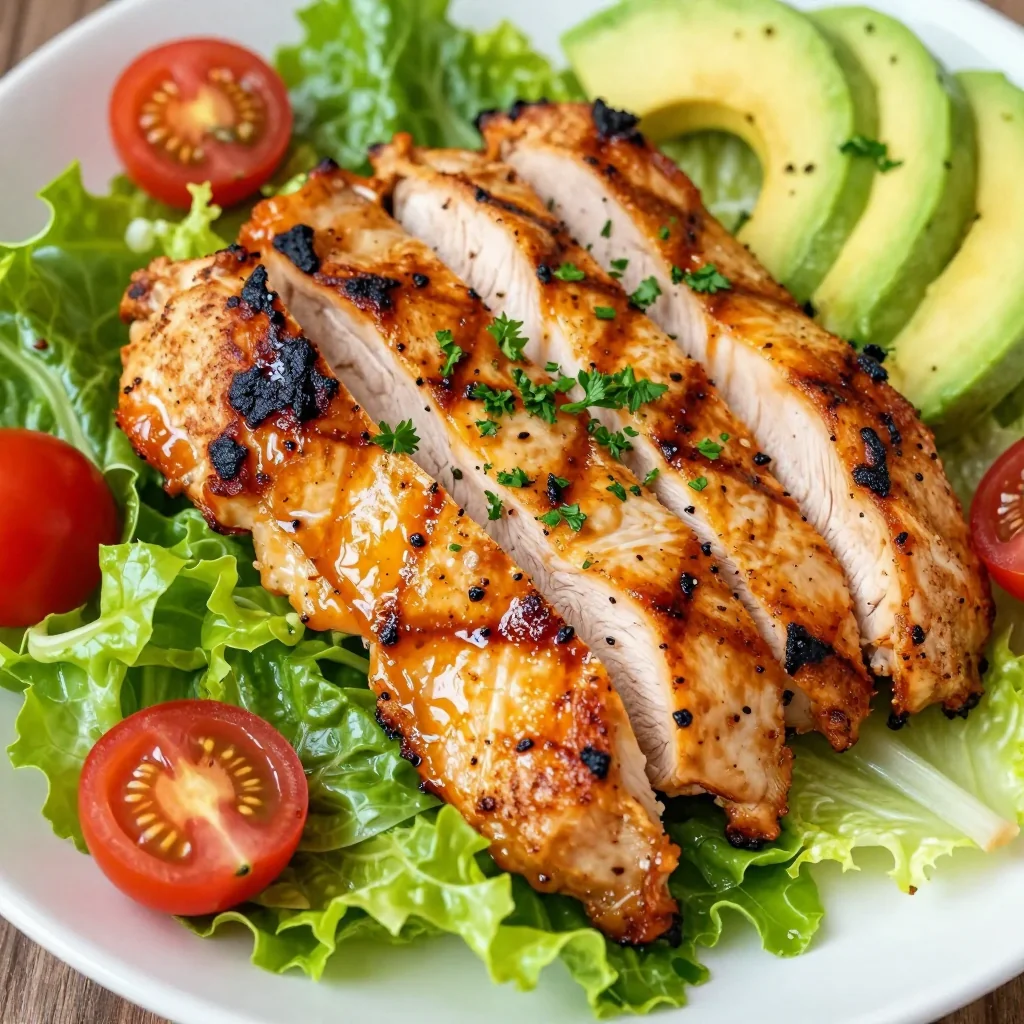
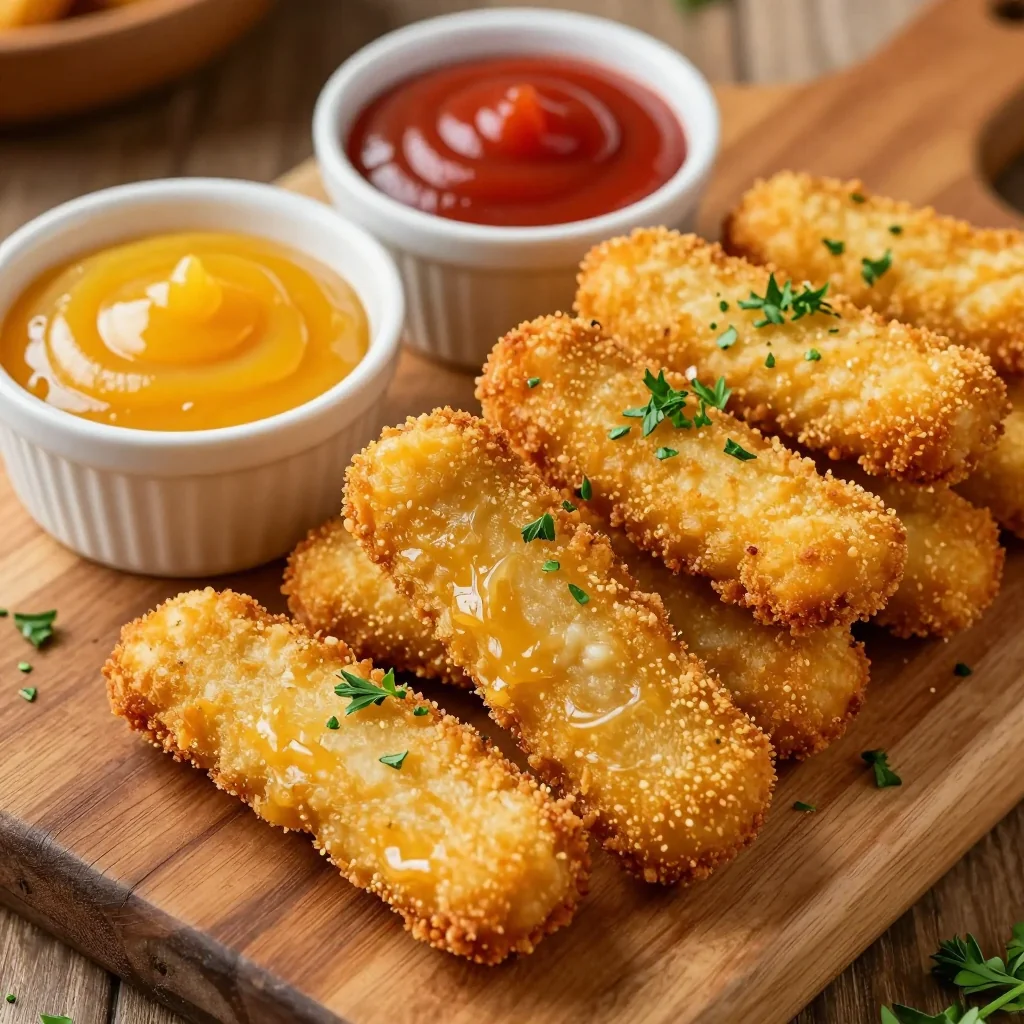
I still remember the first time my daughter asked if we could skip the drive-through and make “real” chicken fingers at home. She was five, standing on a step-stool, eyes wide with suspicion at the bowl of raw chicken strips. Fast-forward eight years and these homemade chicken fingers have become our Friday-night ritual: bowls of seasoned flour, beaten eggs, and toasty panko crumbs line the counter like a tiny assembly line, the kitchen smells like butter and garlic, and every kid (and adult) who walks through the door ends up hovering by the stove, stealing a just-cooked strip while it’s still too hot to handle. They’re crisp without being greasy, tender without tasting plain, and—best of all—they’re baked, not fried, so you can pile them onto a sheet pan, slide them into the oven, and actually sit down with your family instead of babysitting a pot of hot oil. Whether you’re feeding picky toddlers, hungry teens, or simply craving nostalgic comfort food, these kid-friendly homemade chicken fingers will earn a permanent spot on your weekly menu.
Why This Recipe Works
- Double-dredge method: a quick dip in flour, then egg, then panko guarantees thick, shaggy crusts that stay crunchy for over an hour.
- Baked, not fried: a hot oven plus a light spray of oil delivers the deep-fried flavor you crave without the mess or extra calories.
- Make-ahead friendly: bread the strips, freeze in a single layer, then bake straight from frozen for a 20-minute weeknight dinner.
- Hidden veggie boost: finely ground oats or flaxseed disappear into the coating, adding fiber that kids never notice.
- Customizable seasoning: swap smoked paprika for taco night, Italian herbs for pizza night, or cinnamon-nutmeg for a sweet-savory twist.
- Allergy-smart: gluten-free panko and oat milk work seamlessly, so no one feels left out at the table.
- One-pan sides: toss potato wedges or broccoli florets with the same oil-spice mix and roast on the same sheet—dinner = done.
Ingredients You’ll Need
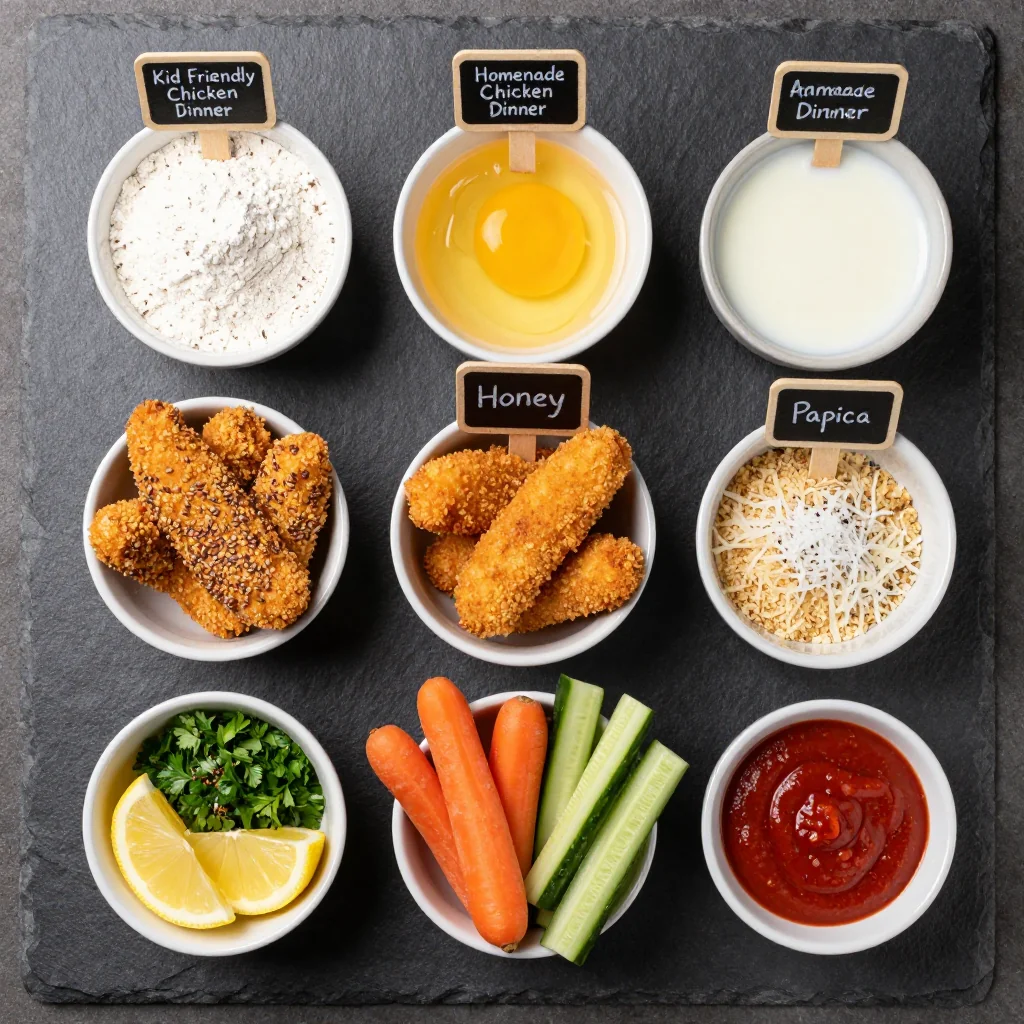
Great chicken fingers start with great chicken. Look for plump breast tenders or slice your own from boneless, skinless breasts that feel firm and smell faintly sweet—never sour or sticky. Aim for strips about ¾-inch thick; anything thinner dries out, anything fatter bakes unevenly. For maximum juiciness, I like to brine the strips for 15 minutes in 2 cups cold water mixed with 1 tablespoon each of kosher salt and brown sugar. It’s optional, but you’ll taste the difference.
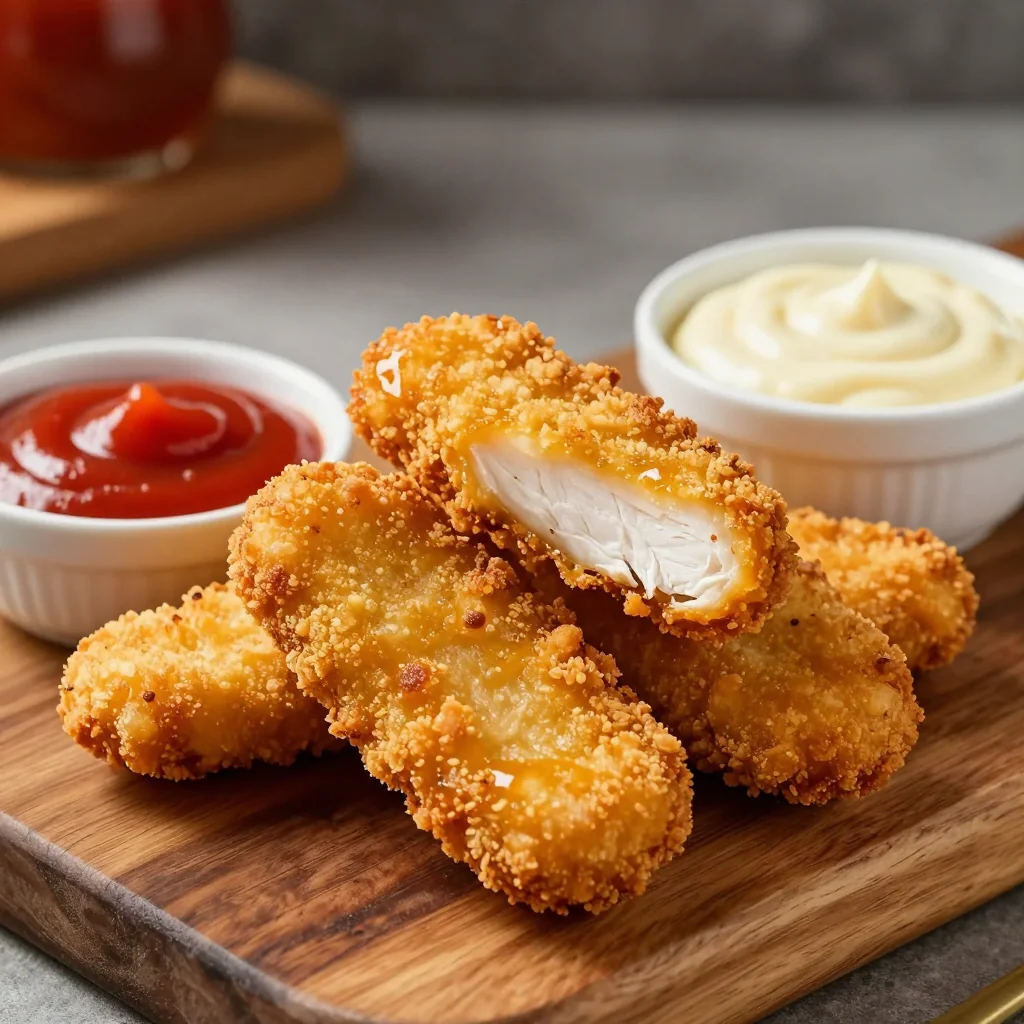
Panko breadcrumbs are non-negotiable. Their jagged shards create airy pockets that stay crisp far longer than regular crumbs. I prefer whole-wheat panko for its toasty flavor, but plain or gluten-free both work. Buy a fresh box—stale crumbs taste like cardboard no matter how you season them.
Seasoned flour is the first layer of flavor. I whisk all-purpose flour with a hefty pinch of garlic powder, onion powder, smoked paprika, and a whisper of cayenne. The paprika lends a sunset hue that signals “yum” to little eyes, while the cayenne is so subtle it registers as warmth, not heat.
Egg wash needs body; otherwise it drips off. Beat two whole eggs with a splash of milk (dairy or oat) and a teaspoon of Dijon. The mustard’s vinegary snap wakes up the chicken and helps the crumbs adhere.
Finally, the oil. Use a neutral, high-heat spray like avocado or grapeseed. A light mist on both sides of the breaded fingers encourages browning without greasiness. If you’re oil-free, you can skip it, but expect a paler crust.
How to Make Kid Friendly Homemade Chicken Fingers for Dinner
Prep & brine
Pat 1 ½ lb chicken tenders dry. If brining, dissolve 1 tbsp kosher salt and 1 tbsp brown sugar in 2 cups cold water, submerge chicken, cover, and refrigerate 15 minutes. Drain, rinse, and pat very dry. Moisture is the enemy of crunch.
Heat the oven
Place a dark-coated rimmed sheet pan on the middle rack and heat oven to 425°F. A pre-heated pan jump-starts browning on the underside so you don’t have to flip mid-bake.
Set up your breading station
In a shallow dish, whisk ¾ cup all-purpose flour, 1 tsp each garlic powder, onion powder, and smoked paprika, ½ tsp kosher salt, and ⅛ tsp cayenne. In a second dish, beat 2 eggs with 2 tbsp milk and 1 tsp Dijon. Fill a third dish with 2 cups panko. Line them up in that order—flour, egg, crumbs—like an assembly line.
Dredge like a pro
Working with one strip at a time, coat in flour, shaking off excess. Dip in egg, letting extra drip back. Press firmly into panko, turning to coat every crevice. Transfer to a wire rack set over a tray. This air-drying step prevents sogginess.
Oil & arrange
Remove the hot pan (oven mitts, please!) and mist with oil. Arrange fingers in a single layer with a pinky-width gap between each so steam escapes. Generously spray the tops; think sunscreen—light but even.
Bake to golden
Slide pan back onto the middle rack and bake 10 minutes. Rotate pan for even browning; bake 6–8 minutes more, until deepest cracks look amber and an instant-read thermometer hits 165°F. Resist the urge to overbake—carry-over heat will finish the job.
Rest & serve
Transfer fingers to a clean rack and let rest 3 minutes. This sets the coating so it doesn’t slide off at first bite. Serve with ketchup, honey-mustard, or my kids’ favorite: 2 parts Greek yogurt + 1 part maple syrup + squeeze of lemon.
Bonus sheet-pan veggies
While the chicken bakes, toss broccoli florets or potato wedges with 1 tbsp oil, salt, and the same spice mix. Add to the pan during the last 12 minutes for a complete hands-off dinner.
Expert Tips
Crunch booster
Pulse ½ cup cornflakes or pretzels into the panko for extra texture that crackles.
Even sizing
Cut larger tenders in half diagonally so every piece cooks at the same rate.
No rack? No problem
Flip fingers halfway if baking directly on the sheet; the underside won’t suffer.
Flavor swirl
Add 1 tsp everything-bagel seasoning to the crumbs for a surprise pop of onion and sesame.
Thermometer trust
White meat hits 165°F; pull promptly. Overcooking is the #1 cause of dry fingers.
Reheat like a pro
Air-fry 3 minutes at 375°F or bake 6 minutes at 400°F to restore snap—never microwave.
Variations to Try
- Cheesy Ranch: swap ¼ cup flour for dry ranch mix and press ½ cup finely shredded cheddar into the crumbs.
- Coconut Crunch: replace half the panko with unsweetened shredded coconut and add ½ tsp curry powder.
- Buffalo Style: after baking, brush lightly with melted butter mixed 1:1 with Frank’s RedHot for mild heat.
- Parmesan Herb: stir ⅓ cup grated Parm and 1 tsp dried Italian herbs into the crumbs.
- Tofu Fingers: use extra-firm tofu pressed 20 minutes; proceed with the same breading and bake 18 minutes.
Storage Tips
Refrigerate: Cool completely, layer between parchment in an airtight container, and refrigerate up to 4 days.
Freeze raw: After breading, flash-freeze on a tray until solid, then transfer to a zip bag. Bake from frozen 20–22 minutes at 425°F.
Freeze cooked: Let cool, freeze in a single layer, then bag. Reheat from frozen 12–15 minutes at 400°F for maximum crunch.
Make-ahead lunchbox: Pack cold fingers with an ice pack; they defrost by noon and taste great at room temp.
Frequently Asked Questions
Kid Friendly Homemade Chicken Fingers for Dinner
Ingredients
Instructions
- Optional brine: dissolve salt & sugar in 2 cups cold water, submerge chicken 15 min, drain, pat dry.
- Preheat oven & pan: place rimmed sheet on middle rack, heat oven to 425°F.
- Season flour: whisk flour, garlic & onion powders, paprika, salt, and cayenne in a shallow dish.
- Egg wash: beat eggs, milk, and Dijon in a second dish; place panko in a third.
- Dredge: coat each strip in flour, shake excess, dip in egg, then press firmly into panko. Set on rack.
- Oil & bake: remove hot pan, mist with oil, arrange fingers, spray tops. Bake 16–18 min to 165°F.
- Rest 3 min then serve with your favorite dip.
Recipe Notes
For gluten-free, use GF panko and GF flour. For egg-free, substitute ½ cup buttermilk or oat milk plus 1 tbsp mayo. Nutrition is calculated with brine discarded and 2 seconds of oil spray per strip.