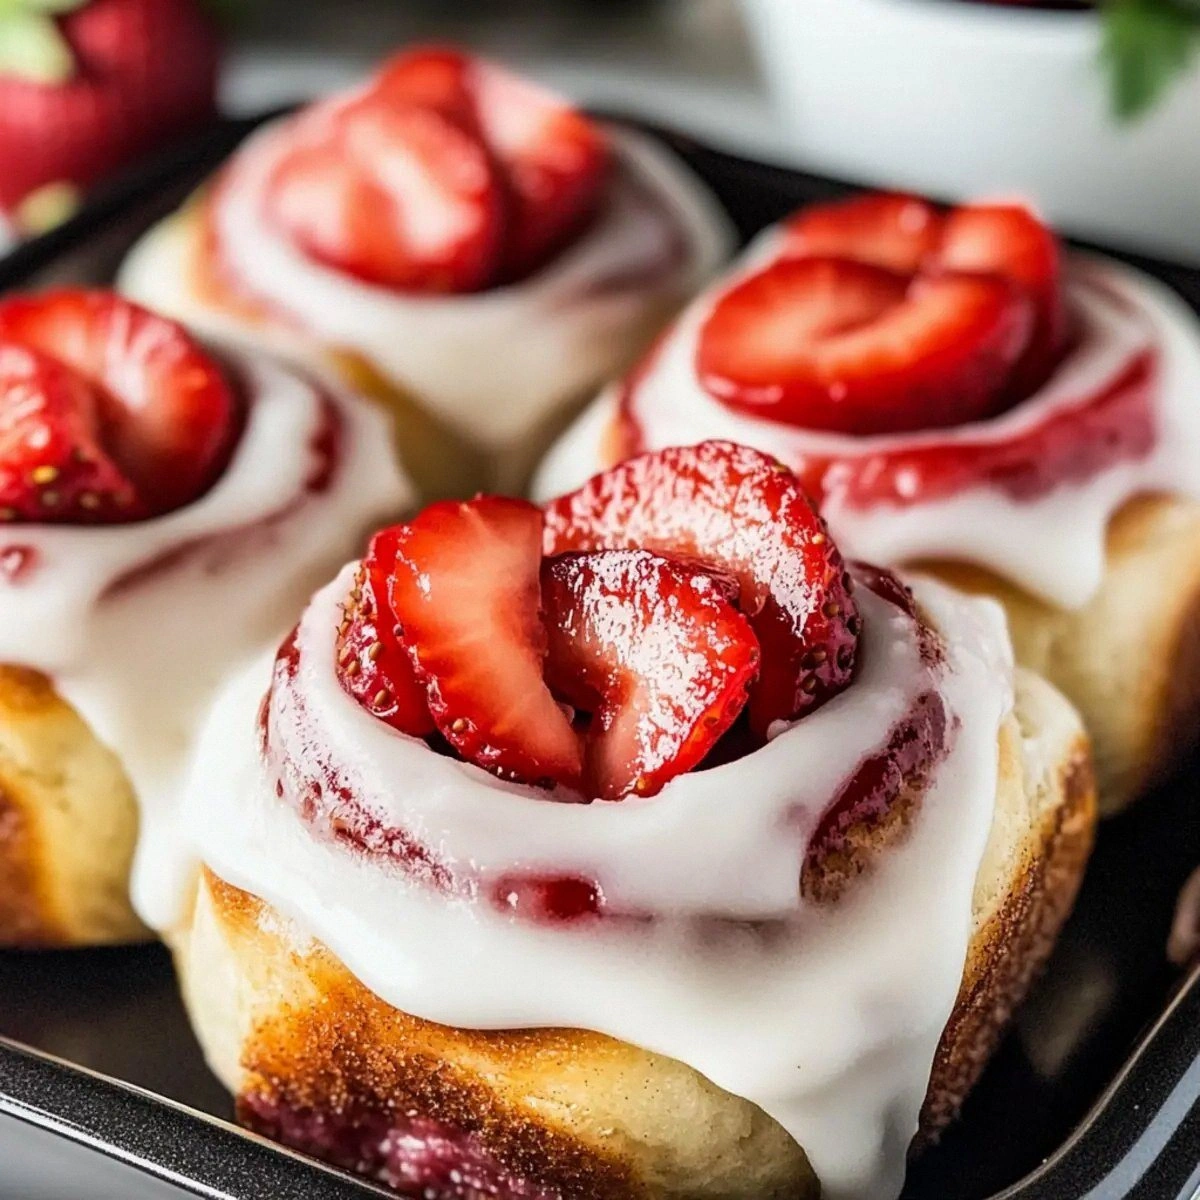
It started with a kitchen catastrophe that still makes my stomach turn: I tried to impress a group of friends with a “quick” wing recipe that turned out soggy, greasy, and utterly forgettable. I remember the moment the pan hissed, the smell of burnt batter, and the disappointment on everyone’s faces. I swore to myself that I’d never again serve wings that were more about disappointment than delight. That night, I pulled out a recipe that I’d found on a forum, promising crispness without the oil slick.
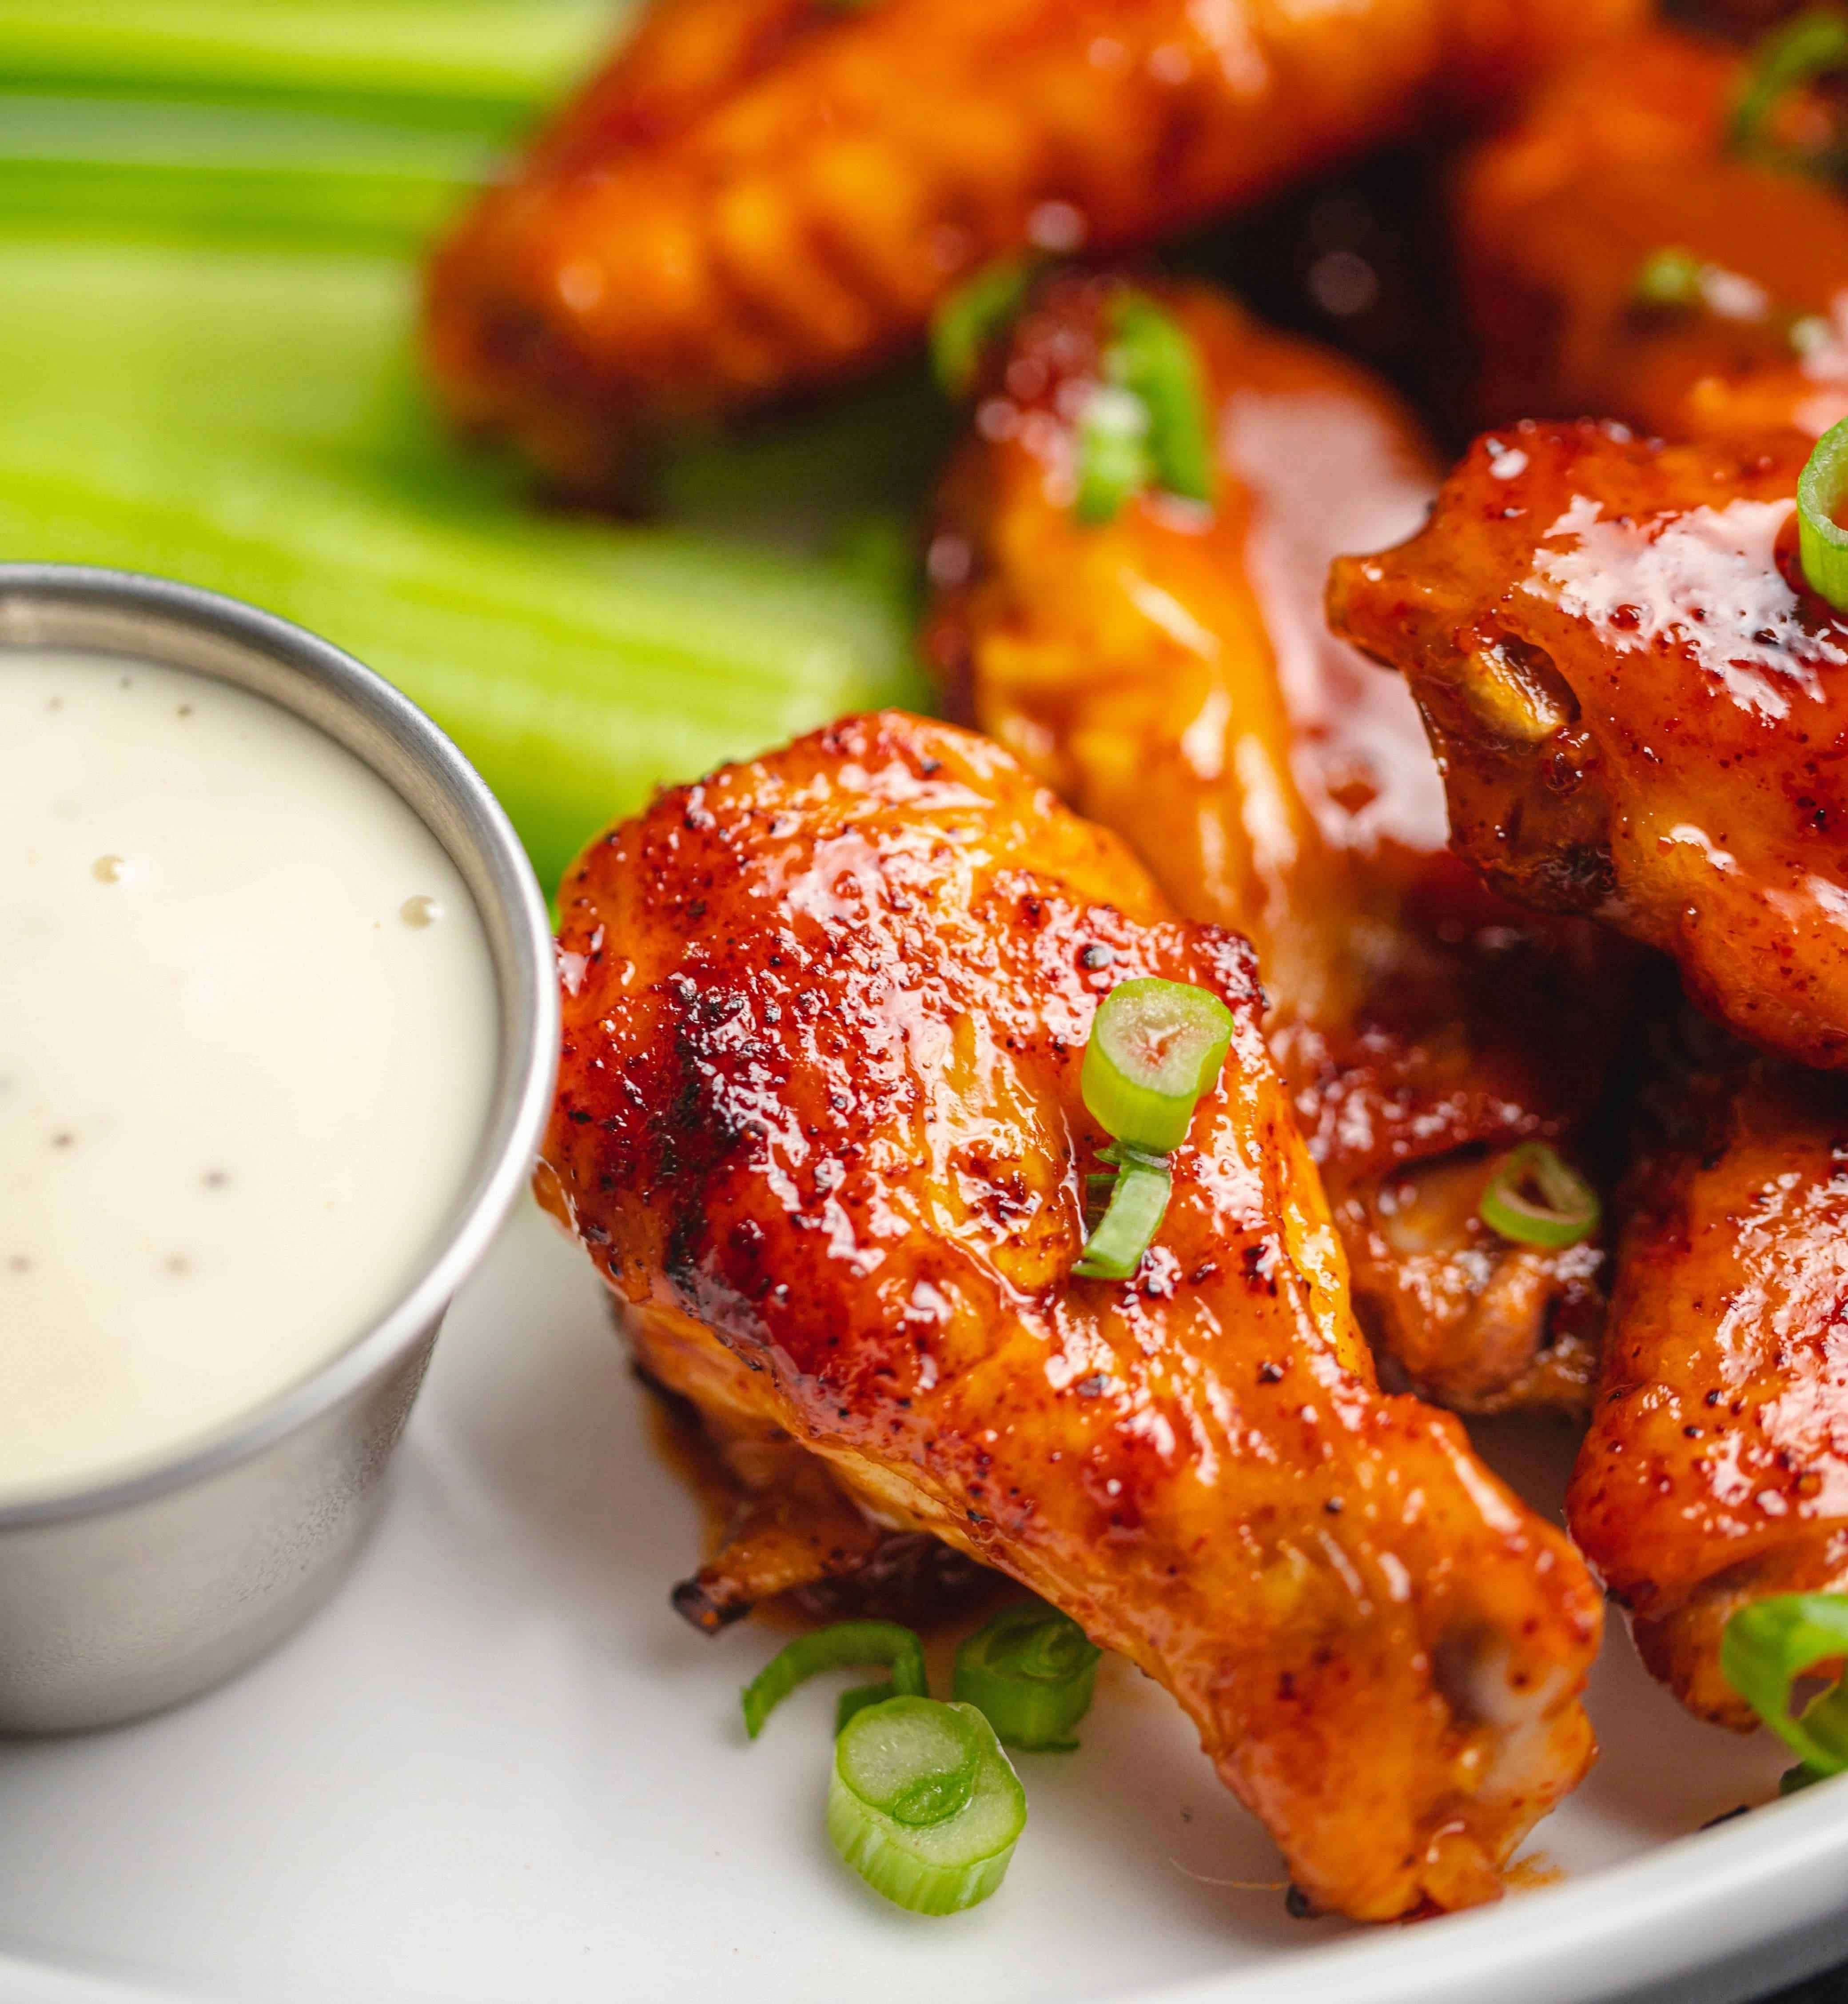
Now, picture the kitchen as a stage: the oven lights flicker like stage lights, the air is thick with the scent of paprika and butter, the sound of wings crackling as they bake, the texture of a crisp edge that shatters like thin ice, and the anticipation of that first bite that delivers a burst of heat that lingers. The visual of golden wings glistening under the oven’s glow is almost hypnotic. The taste is a perfect marriage of smoky, spicy, and buttery, with a subtle sweetness that dances on the tongue. The feel of the paper towels ready to catch the excess fat is comforting, like a safety net. Every element is orchestrated to create a moment of pure, unapologetic joy.
What sets this version apart is not just the ingredients, but the method that transforms ordinary wings into a festival of crunch. I’ve taken the classic baked wing and amplified its texture with baking powder, turned the sauce into a glossy coating that clings like velvet, and introduced a honey glaze that adds a caramelized finish. The result is wings that are crisp on the outside, juicy on the inside, and packed with flavor that makes you reach for more. I dare you to taste this and not go back for seconds, because once you try it, the rest of the world feels like a distant memory.
I’ll be honest—when I first baked these, I ate half the batch before anyone else got a chance. Most recipes get this completely wrong, focusing on deep frying or over-salting. Here, the balance is precise, the technique is simple, and the flavor profile is bold. I’ve hidden a secret trick that will make your wings irresistibly crisp, and I’ve tweaked the sauce to give it a silky, slightly sweet finish that you won’t find in your typical wing recipe. Picture yourself pulling this out of the oven, the whole kitchen smelling incredible, and your friends’ eyes widening as they see the golden, blistered wings. Let me walk you through every single step—by the end, you’ll wonder how you ever made it any other way.
What Makes This Version Stand Out
- Texture: The addition of baking powder creates a chemical reaction that pulls moisture from the skin, producing a crunch that is both light and satisfying. When the wings hit the oven, they begin to puff up before settling into a golden crisp. The result is a bite that’s simultaneously airy and sturdy, like biting into a well‑seasoned potato chip.
- Flavor Depth: A blend of paprika, garlic powder, and onion powder infuses every inch of the skin, while the honey glaze adds a caramelized sweetness that balances the heat from the hot sauce. This layered approach turns each wing into a flavor explosion that’s both complex and approachable. The sauce coats the meat like velvet, leaving a lingering aftertaste that keeps you coming back.
- Ease of Prep: No deep‑frying, no complicated marinades, just a simple toss in a bowl and a single baking sheet. The method requires minimal equipment—a baking sheet, a rack, and a timer—and can be executed in under an hour. It’s the perfect solution for a weeknight dinner or a last‑minute party.
- Health‑Friendly: Baking instead of frying reduces fat content by up to 70%, while the honey glaze keeps the dish sweet without the need for refined sugars. The wings remain juicy, but the overall calorie count stays within a reasonable range. It’s a win‑win for taste and wellness.
- Make‑Ahead Potential: The wings can be prepped the night before, refrigerated, and baked fresh in the morning. The sauce can be made in advance and stored in a sealed container. This flexibility turns a potentially stressful cooking session into a relaxed, almost lazy, experience.
- Versatility: The recipe can be adapted for different heat levels, dietary restrictions, or flavor preferences. Swap the hot sauce for a smoky chipotle sauce, or replace honey with maple syrup for a different sweetness profile. The base remains solid, giving you a canvas to experiment.
- Party‑Ready: The wings are naturally portable, making them ideal for game nights, potlucks, or a casual gathering. Serve them with celery sticks and a creamy ranch or blue cheese dressing, and you’ve got a crowd‑pleaser that’s both practical and impressive.
Inside the Ingredient List
The Flavor Base
The foundation of these wings is the simple, yet powerful, combination of salt, pepper, garlic powder, onion powder, and paprika. Each spice is chosen for its ability to penetrate the skin and create a savory backbone that stands up to the hot sauce. Skipping any of these would leave the wings tasting flat, as the spices act as the first line of defense against the heat. If you’re looking to cut down on sodium, you can reduce the salt by a quarter, but you’ll lose a bit of the flavor punch.
The Texture Crew
Baking powder is the unsung hero that turns ordinary wings into a crispy masterpiece. It reacts with the moisture on the skin, creating tiny bubbles that lift the surface and prevent sogginess. If you don’t have baking powder on hand, a pinch of baking soda can serve as a last‑minute substitute, though it may alter the flavor slightly. The key is to coat each wing evenly; uneven coating results in uneven crispness.
The Unexpected Star
Hot sauce is the star that brings heat, but it also contributes to the glossy, caramelized finish when combined with butter and honey. The acidity in the sauce helps break down the proteins on the skin, enhancing crispness. If you prefer a milder heat, try a chipotle or a mild cayenne sauce—just keep the ratio the same to maintain the sauce’s thickness. The sauce also acts as a binder, keeping the coating intact even after the wings are tossed.
The Final Flourish
Melted butter and honey are the final touches that give the wings a buttery richness and a subtle sweetness. The butter adds a silky mouthfeel, while the honey provides caramelization and a glossy sheen. Together, they create a glaze that clings to the wings like a second skin. If you’re avoiding honey, a splash of maple syrup or a drizzle of agave syrup can replicate the sweetness without the floral undertones.
Everything's prepped? Good. Let's get into the real action…
The Method — Step by Step
- Preheat your oven to 425°F (220°C) and line a large baking sheet with parchment paper. Place a wire rack on top of the sheet to allow air to circulate around the wings. This step is crucial for achieving even crispness across every wing. While the oven is heating, gather all your ingredients so you’re ready to go.
- In a large mixing bowl, combine the baking powder, salt, black pepper, garlic powder, onion powder, and paprika. Stir the dry mix until it’s evenly distributed. A well‑mixed seasoning blend ensures that every wing receives the same flavor punch. This is the stage where the magic begins.
- Toss the chicken wings in the seasoning mixture, making sure each wing is fully coated. The coating should look like a fine dusting; if it’s too thick, the wings may steam instead of crisp. The seasoning is the first flavor layer that will caramelize as the wings bake. Let the wings sit for 5 minutes to allow the spices to adhere.
- Arrange the seasoned wings in a single layer on the wire rack. Make sure there’s a small gap between each wing; overcrowding will cause them to steam and lose that coveted crunch. The wings should be spread out like soldiers ready for battle. This layout is essential for uniform cooking.
- Bake the wings for 25 minutes, then flip them over and bake for an additional 10 minutes. The wings should develop a deep golden color and the skin should feel crisp to the touch. Keep an eye on the edges—they’ll start pulling away from the skin as they caramelize. This is the moment of truth.
- While the wings finish baking, melt the butter in a small saucepan over low heat. Once melted, stir in the honey and hot sauce until the mixture is smooth and glossy. The sauce should be thick enough to coat the wings without dripping off. This glaze will give the wings their signature shine.
- Remove the wings from the oven and immediately drizzle the hot sauce glaze over them, tossing gently to ensure an even coat. The sauce should cling to the wings like a second skin, creating a burst of flavor with each bite. The glaze also adds a subtle sweetness that balances the heat.
- Let the wings rest for 5 minutes on a cooling rack; this allows the juices to redistribute and the coating to set. While resting, the wings will become even crispier as the residual heat continues to work. This brief pause is worth the wait.
- Serve immediately with celery sticks and your choice of ranch or blue cheese dressing. The cool, creamy dip contrasts beautifully with the hot, crispy wings, creating a flavor symphony. If you’re feeling adventurous, add a sprinkle of fresh herbs for an extra pop of color.
- Enjoy the moment—watch the steam rise, taste the first bite, and let the flavors explode in your mouth. This is the culmination of a simple yet meticulous process that delivers a dish that’s both comforting and exciting. Don’t forget to take a photo for bragging rights.
- If you have leftovers, store them in an airtight container in the fridge for up to 3 days. Reheat them in the oven at 350°F (175°C) for 10 minutes to restore crispness. This method preserves the texture better than a microwave.
- For the ultimate wing experience, pair them with a cold beer or a sparkling lemonade. The carbonation helps cleanse the palate between bites. This final touch elevates the entire meal to a memorable gathering.
That's it — you did it. But hold on, I've got a few more tricks that'll take this to another level…
Insider Tricks for Flawless Results
The Temperature Rule Nobody Follows
Many cooks think that a lower oven temperature will result in a crispier wing, but the opposite is true. Baking at 425°F forces the moisture to evaporate quickly, leaving a dry surface that crisps beautifully. If you lower the heat, the wings will steam, producing a soggy exterior. I’ve tested this in a side‑by‑side bake, and the difference is night and day.
Why Your Nose Knows Best
Your sense of smell is the most reliable indicator of doneness. A warm, buttery aroma that carries a faint hint of caramelization means the wings are ready. If you still smell raw chicken, give them a few more minutes. Trust your nose; it’s a seasoned chef’s secret weapon.
The 5-Minute Rest That Changes Everything
Letting the wings rest after baking allows the juices to redistribute, preventing them from spilling onto the skin and creating a soggy surface. The rest period also lets the coating set, giving you that satisfying crunch. I’ve seen wings that are baked to perfection crumble during the first bite if you skip this step.
Don’t Forget the Rack
Using a wire rack elevates the wings, ensuring even heat distribution and preventing the bottom from becoming greasy. It also creates a space for steam to escape, which is essential for crispness. If you’re baking on a flat sheet, consider adding a second sheet on top to mimic the rack’s effect.
Keep the Sauce at the Ready
Having the glaze ready to drizzle while the wings are still hot ensures that it coats the wings evenly. If you let the sauce cool, it will thicken and may not adhere properly. A quick stir before pouring will re‑soften the glaze for optimal adhesion.
Serve Immediately
The wings are best enjoyed straight from the oven while they’re still piping hot and crisp. If you wait too long, the steam will soften the skin, and the flavor intensity will diminish. This final tip is a game‑changer for anyone who wants the ultimate wing experience.
Creative Twists and Variations
Smoky Chipotle Glaze
Swap the hot sauce for a smoky chipotle sauce to give the wings a deep, earthy heat. Add a splash of lime juice for a bright, citrusy finish that cuts through the richness. This variation is perfect for a summer barbecue or a casual gathering.
Asian-Inspired Teriyaki Wings
Replace the honey glaze with a teriyaki sauce made from soy sauce, mirin, and a touch of sesame oil. The sweet and salty profile pairs wonderfully with the crispy skin. Garnish with sesame seeds and sliced green onions for a pop of color.
Herb-Infused Parmesan Finish
After baking, toss the wings in a mixture of grated Parmesan, fresh rosemary, and thyme. The cheese melts slightly, creating a savory crust that’s both fragrant and flavorful. This version is a hit for those who love a Mediterranean twist.
Low-Carb Keto Wings
Omit the honey and use a sugar-free hot sauce to keep the carb count low. Add a sprinkle of crushed pork rinds for extra crunch. This makes the dish keto‑friendly without compromising on taste.
Breakfast-Style Wings
Serve the wings with a side of scrambled eggs and a drizzle of maple syrup for a breakfast‑themed twist. The sweet syrup complements the savory wings, creating a unique flavor combination that’s sure to impress.
Vegan-Friendly Version
Use plant‑based chicken alternatives and coconut oil in place of butter. Replace the hot sauce with a vegan-friendly option and sweeten with agave syrup. This ensures the dish stays plant‑based while delivering the same crispy, flavorful experience.
Storing and Bringing It Back to Life
Fridge Storage
Store leftover wings in an airtight container in the refrigerator for up to 3 days. The wings will keep their crispness if you let them sit at room temperature for 10 minutes before eating. Avoid storing them in a sealed bag, as moisture can accumulate and soften the skin.
Freezer Friendly
For longer storage, place the wings in a freezer‑safe bag and freeze for up to 2 months. When ready to eat, thaw overnight in the fridge and reheat in a preheated oven at 350°F (175°C) for 10 minutes. This method preserves the texture better than a microwave.
Best Reheating Method
Reheat the wings in a hot oven to restore crispness. If you’re short on time, use a toaster oven or an air fryer at 375°F (190°C) for 5 minutes. Add a tiny splash of water before reheating to create steam that keeps the wings from drying out.
Final Thoughts
I’ve spent countless hours experimenting with different techniques, and this recipe has become my go-to for both casual dinners and special occasions. The combination of a simple seasoning blend, a clever use of baking powder, and a glossy glaze creates a dish that feels indulgent yet approachable. The result is wings that are not only irresistibly crispy but also packed with layers of flavor that keep everyone coming back for more. If you’re ready to elevate your wing game, give this recipe a try and watch your friends’ faces light up with delight.
Remember, the key to success lies in the details: precise measurements, proper oven temperature, and the right timing for each step. Don’t rush through the process, and trust your senses to guide you. When the wings hit the oven, let the aroma fill the kitchen and feel the anticipation build. The moment you taste that first bite, you’ll understand why this recipe has become a staple in my culinary repertoire.
I’ve shared every trick, every tweak, and every secret that turns ordinary wings into a culinary triumph. Whether you’re cooking for a crowd or just for yourself, this recipe will deliver satisfaction in every bite. So grab your apron, preheat your oven, and let’s make wing history together.