Picture this: it’s a rainy Saturday morning, the kind of day where you’d rather stay in your pajamas than hit the gym. I’m standing in my kitchen, surrounded by a chaotic pile of ingredients, and I’m thinking, “I need a dessert that feels like a hug.” That’s when the idea of a cinnamon roll dump cake hit me—an easy, no-fuss, gooey masterpiece that turns a simple baking routine into a showstopper. I’d already tried the classic version, but it left me craving something richer, more indulgent, and I knew I could elevate it with a few strategic tweaks.
The first thing that caught my eye was the aroma. As soon as I poured the butter into the pan, the buttery scent filled the room, mingling with the sweet, spicy perfume of cinnamon and brown sugar. The sound was almost ceremonial—each swirl of the spoon sent a soft hiss of butter melting into the dry ingredients. The texture of the batter was silky, a promise of a moist center that would contrast beautifully with the crisp edges. When I tasted a small bite, the cinnamon danced on my tongue, leaving a lingering warmth that felt like a gentle, comforting wave.
But why is this version hands down the best you’ll ever make at home? Because it takes the dump cake concept and gives it a gourmet twist: a buttery crust that crackles, a syrupy center that oozes, and a dusting of powdered sugar that feels like a light snowfall. I dared you to taste this and not go back for seconds, and trust me, you’ll find yourself reaching for the next slice before the first one is gone. Most recipes get this completely wrong by overmixing the batter or using too much liquid, which turns the cake into a soggy mess. Here, the secret lies in the balance of dry and wet, and a dash of vanilla that unlocks the flavor profile.
Picture yourself pulling this out of the oven, the whole kitchen smelling incredible, steam curling around the edges like a fragrant halo. The first bite is a burst of caramelized sugar, a hint of nutmeg, and a velvety butter core that melts in your mouth. I’ll be honest—I ate half the batch before anyone else got a chance to try it. If you’ve ever struggled with a dump cake that’s either too dry or too soggy, you’re not alone, and I’ve got the fix. Okay, ready for the game-changer? Let me walk you through every single step — by the end, you’ll wonder how you ever made it any other way.
What Makes This Version Stand Out
- Flavor Depth: The combination of brown and white sugars creates a caramelized sweetness that’s richer than standard dump cakes, while the cinnamon adds a warm, aromatic punch.
- Texture Contrast: A buttery, slightly crisp crust juxtaposed with a gooey, syrupy center gives every bite a satisfying dynamic.
- Minimal Prep: The “dump” technique saves time—no rolling or frosting, just a quick mix and bake.
- Ingredient Quality: Using high‑grade butter and fresh cinnamon elevates the overall flavor profile.
- Make‑Ahead Friendly: Once baked, it keeps well in the fridge, and reheating restores its gooeyness.
- Party Appeal: The visual presentation—golden edges, a glossy glaze—makes it a showstopper at brunches or gatherings.
- Adaptability: Swap in chocolate chips, dried fruit, or a drizzle of caramel for endless variations.
- Health‑Friendly Tweaks: Substitute whole‑wheat flour or coconut sugar for a lighter version without compromising taste.
Inside the Ingredient List
The Flavor Base
At the heart of this dump cake is the classic combination of all-purpose flour, baking powder, and a pinch of salt. The flour provides structure, while the baking powder ensures a gentle lift without turning the batter into a soufflé. Salt, though minimal, accentuates the sweetness and balances the buttery richness. If you skip the baking powder, you’ll end up with a denser, flatter cake that won’t rise as much, but it will still be delicious—just slightly less airy.
The Texture Crew
Milk and melted butter form the liquid backbone that keeps everything moist. The butter not only adds flavor but also creates a glossy sheen on the surface as it caramelizes. Eggs bind the batter together and give it a tender crumb. A splash of vanilla extract unlocks the hidden sweetness in the flour and butter, turning an ordinary batter into an aromatic delight. If you’re watching calories, you can replace half the butter with Greek yogurt, but be prepared for a slightly tangier taste.
The Unexpected Star
Ground cinnamon is the secret weapon that turns a simple dump cake into a cinnamon roll experience. It’s more than a spice—it’s a flavor profile that brings warmth, depth, and a nostalgic aroma. Brown sugar adds a molasses note that complements the cinnamon, creating a complex, caramelized sweetness. A pinch of nutmeg or allspice can add an extra layer of spice if you’re feeling adventurous. Skipping the cinnamon will result in a plain, butter‑heavy cake that lacks the signature cinnamon roll vibe.
Everything's prepped? Good. Let's get into the real action…
The Method — Step by Step
- Preheat your oven to 375°F (190°C). Grease a 9x13 inch baking dish with butter or non‑stick spray so the cake slides out effortlessly. The preheated oven ensures a crisp top from the very first minute.
- In a large mixing bowl, whisk together the flour, baking powder, and salt. This dry blend is the foundation; it keeps the batter from clumping and ensures even distribution of leavening.
- In a separate bowl, combine the melted butter, milk, eggs, vanilla, and brown sugar. Beat until the mixture is smooth and the sugar dissolves completely. The butter should be at room temperature to avoid lumps.
- Gradually pour the wet mixture into the dry ingredients, stirring gently with a spatula. The goal is a thick, sticky batter—over‑mixing will develop gluten and result in a tougher cake.
- Fold in the ground cinnamon and any optional add‑ins like chocolate chips or raisins. The cinnamon should coat the batter evenly, creating a uniform spice distribution.
- Pour the batter into the prepared pan, smoothing the surface with a spatula. The batter should spread naturally, forming a thick layer. At this point, you can add a final drizzle of melted butter on top to enhance the crust.
- Bake for 30 minutes, or until the top is golden brown and a toothpick inserted in the center comes out with a few moist crumbs. The edges should pull slightly away from the pan, indicating a crisp finish.
- Remove the cake from the oven and let it rest for 10 minutes. During this time, the steam will settle, making slicing easier and preventing a soggy bottom.
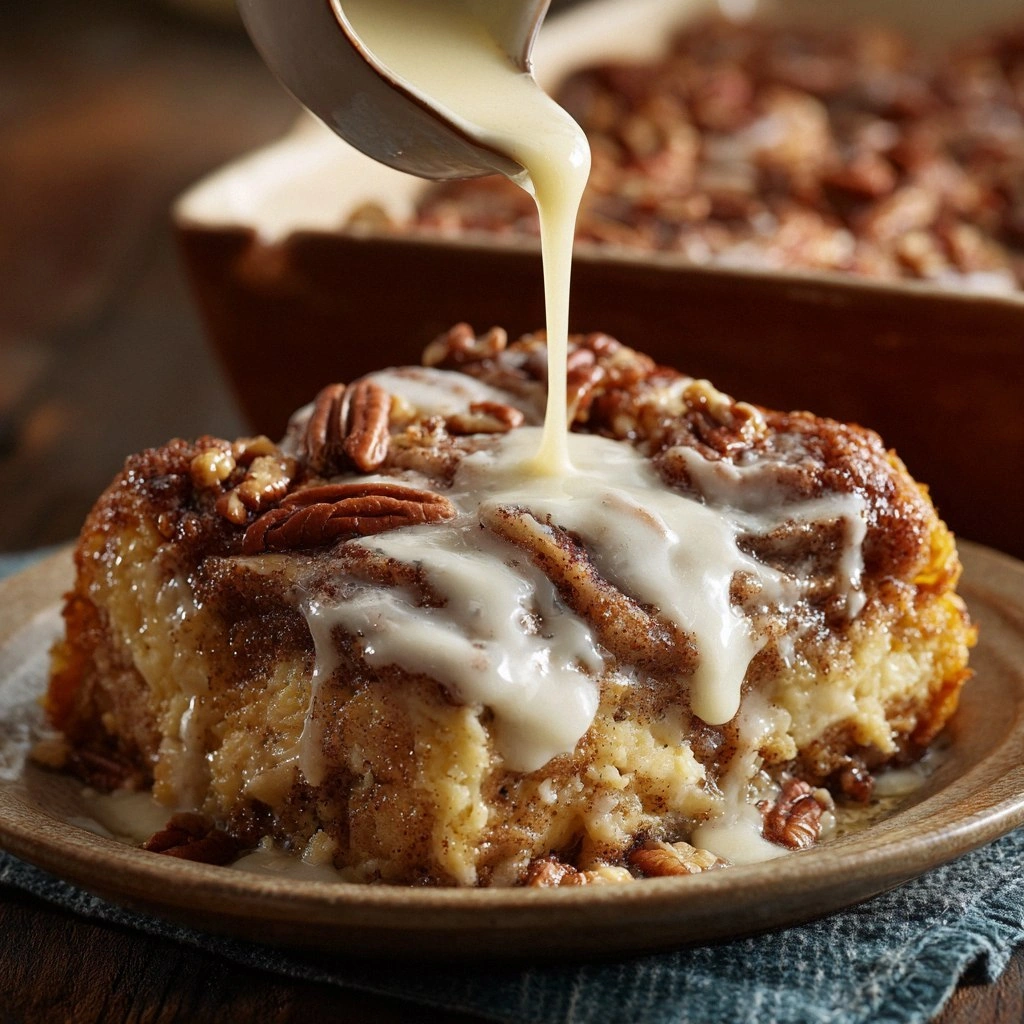
- Dust the warm cake with powdered sugar and serve immediately. For an extra touch, drizzle with a simple glaze or a spoonful of whipped cream.
That's it — you did it. But hold on, I've got a few more tricks that'll take this to another level…
Insider Tricks for Flawless Results
The Temperature Rule Nobody Follows
Many bakers bake at a lower temperature to avoid over‑browning, but this recipe thrives at 375°F. The higher heat caramelizes the sugars faster, giving you that coveted golden crust. If you’re using a convection oven, reduce the temperature by 25°F to prevent excessive browning.
Why Your Nose Knows Best
Trust your nose over your eyes. A subtle, sweet scent that lingers indicates the sugars are caramelizing properly. If the aroma is too buttery, the cake might be overbaked; if it’s bland, it needs a few more minutes.
The 5‑Minute Rest That Changes Everything
Letting the cake rest for exactly five minutes before slicing allows the steam to redistribute, preventing a soggy bottom. It also gives the glaze time to set, so the edges stay crisp while the center stays molten.
The Perfect Slice Size
Aim for a 1.5-inch thick slice. Too thin, and the cake will dry out quickly; too thick, and the center will remain undercooked. A good rule of thumb is to cut at the first visible line of batter on the side of the pan.
How to Keep It Fresh
Store leftovers in an airtight container at room temperature for up to 3 days. If you need to keep it longer, refrigerate and reheat in the oven at 350°F for 10 minutes to revive the crispness.
Creative Twists and Variations
This recipe is a playground. Here are some of my favorite ways to switch things up:
Chocolate Swirl Delight
Swirl in dark chocolate chips or a thin ribbon of melted chocolate before baking. The chocolate adds a bittersweet layer that pairs wonderfully with the caramelized sugar.
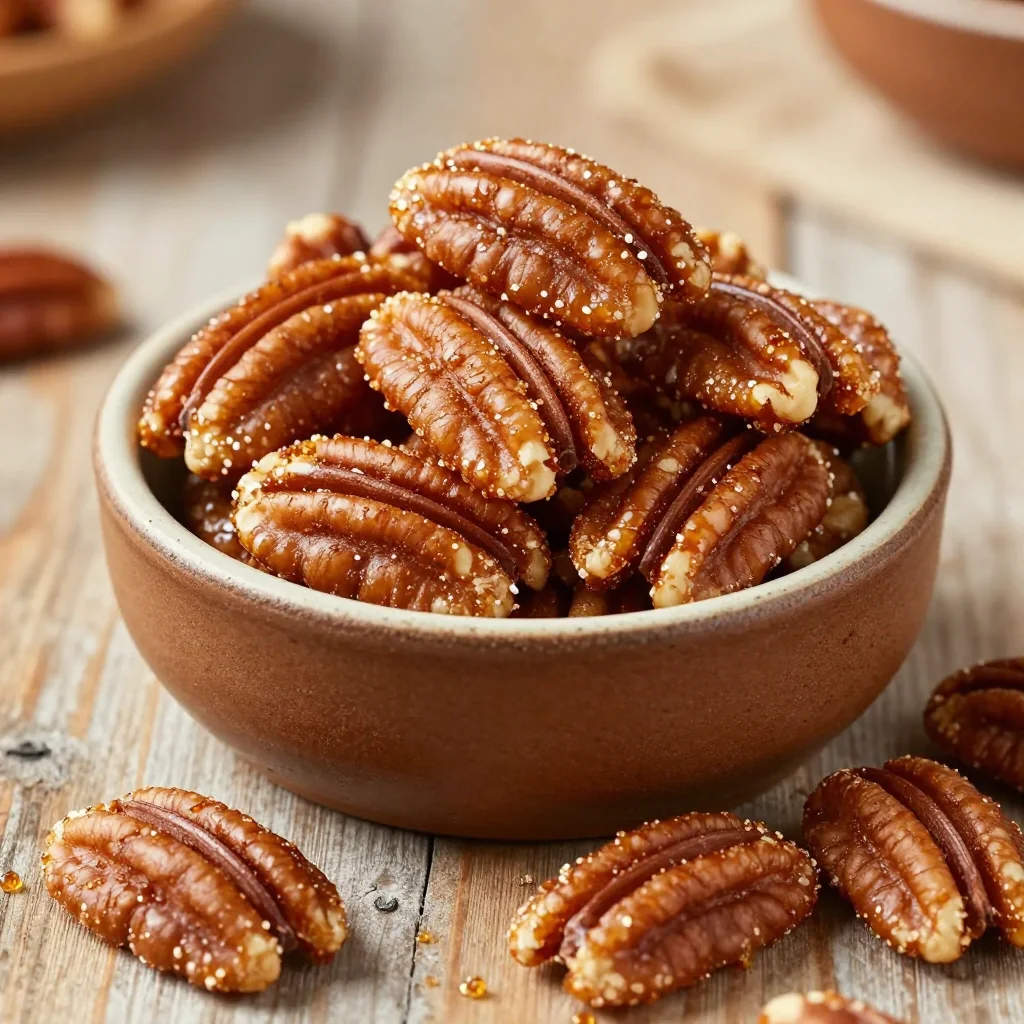
Nutty Crunch Edition
Fold in chopped pecans or walnuts for a crunchy texture. Toast the nuts first to unlock their nutty aroma, and sprinkle a pinch of cayenne for a subtle kick.
Pumpkin Spice Surprise
Replace half the flour with pumpkin puree and add a dash of nutmeg and ginger. This version is perfect for autumn mornings, offering a warm, comforting flavor.
Caramelized Banana Twist
Layer sliced bananas on top of the batter before baking. The bananas caramelize into sweet, sticky ribbons that complement the cinnamon.
Tropical Coconut Touch
Stir in shredded coconut and a splash of coconut milk. The coconut adds a subtle tropical sweetness and a pleasant chew.
Salted Caramel Drizzle
After baking, drizzle a homemade salted caramel sauce over the warm cake. The caramel’s buttery richness amplifies the cinnamon, creating a decadent finish.
These variations show that a dump cake can be as versatile as your mood. Whether you’re craving something sweet, nutty, or a little spicy, there’s a version that will hit the spot. And remember, the key is to keep the batter thick and the baking time precise. Try one of these twists next time, and watch your guests rave about the creativity.
Storing and Bringing It Back to Life
Fridge Storage
Wrap the cooled cake in plastic wrap and store in an airtight container at room temperature for up to 3 days. For longer freshness, refrigerate; the cake will stay moist and flavorful.
Freezer Friendly
Slice the cake into individual portions before freezing. Place each slice on a parchment‑lined tray, freeze until solid, then transfer to a freezer bag. This method prevents clumping and makes reheating easy.
Best Reheating Method
To revive frozen slices, bake at 350°F (175°C) for 8–10 minutes, or microwave on medium power for 30–45 seconds. Add a tiny splash of water before reheating to steam back to perfection, ensuring the interior stays moist.
With these storage tips, you can enjoy the gooey, buttery goodness anytime, whether it’s a spontaneous brunch or a planned gathering. The cake’s texture remains intact, and the flavor stays vibrant, making it a reliable go-to for any occasion.