I was in the middle of a kitchen catastrophe last night, watching a batch of puff pastry crumble into a sad, flat mess that looked like a pancake gone rogue. My friends dared me to bake a croissant‑style roll that would actually rise, and I was determined to prove them wrong. I grabbed every ingredient I could find, set the oven to the perfect temperature, and the air filled with a buttery aroma that made the whole house feel like a bakery. The dough started to swell, the bubbles popping like tiny fireworks, and my taste buds already imagined the golden, flaky layers that would soon emerge. I dare you to taste this and not go back for seconds, because the texture alone will leave you craving more.
The first bite was a revelation—crisp on the outside, airy on the inside, with a subtle sweet buttery flavor that danced across the palate. The roll’s surface glistened with a delicate sheen that promised a crisp crust, while the interior stayed moist and tender, like a cloud that had been gently pressed. The sound of the oven’s heat was a gentle hum, the rhythmic crackle of butter melting into the dough, and the scent of freshly baked bread wrapped the kitchen in a warm embrace. I could almost hear the applause from the oven as each roll puffed up, the edges pulling away like a shy ribbon revealing its hidden heart. The moment you bite into it, that satisfying crunch gives way to a melt‑in‑your‑mouth softness that feels like a secret handshake with your own cravings.
What truly sets this version apart is not just the flaky layers, but the careful balance of ingredients that give it a depth of flavor and a texture that rivals any bakery’s finest. The dough is enriched with whole milk, which adds a subtle richness and helps the butter distribute evenly, creating those coveted layers. I’ve perfected the ratio of yeast to flour so the rolls rise just enough to be airy but not so much that they collapse, a delicate dance that requires precision and patience. The use of both unsalted and salted butter adds a complex buttery profile that is both sweet and savory, giving each bite a nuanced taste. And the final touch—a light egg wash—provides a golden, glossy finish that turns each roll into a visual masterpiece.
Picture yourself pulling this out of the oven, the whole kitchen smelling incredible, the steam rising like a gentle cloud of buttery perfume. The first bite is a revelation, a buttery, flaky explosion that feels like a hug from the inside. This is hands down the best version you'll ever make at home, and I’m not just saying that to impress. I’ve spent weeks tweaking the dough, testing temperatures, and perfecting the lamination technique until every roll came out with that signature flaky, buttery texture. If you’ve ever struggled with croissants, you’re not alone — and I’ve got the fix. Okay, ready for the game‑changer? Let me walk you through every single step — by the end, you'll wonder how you ever made it any other way.
What Makes This Version Stand Out
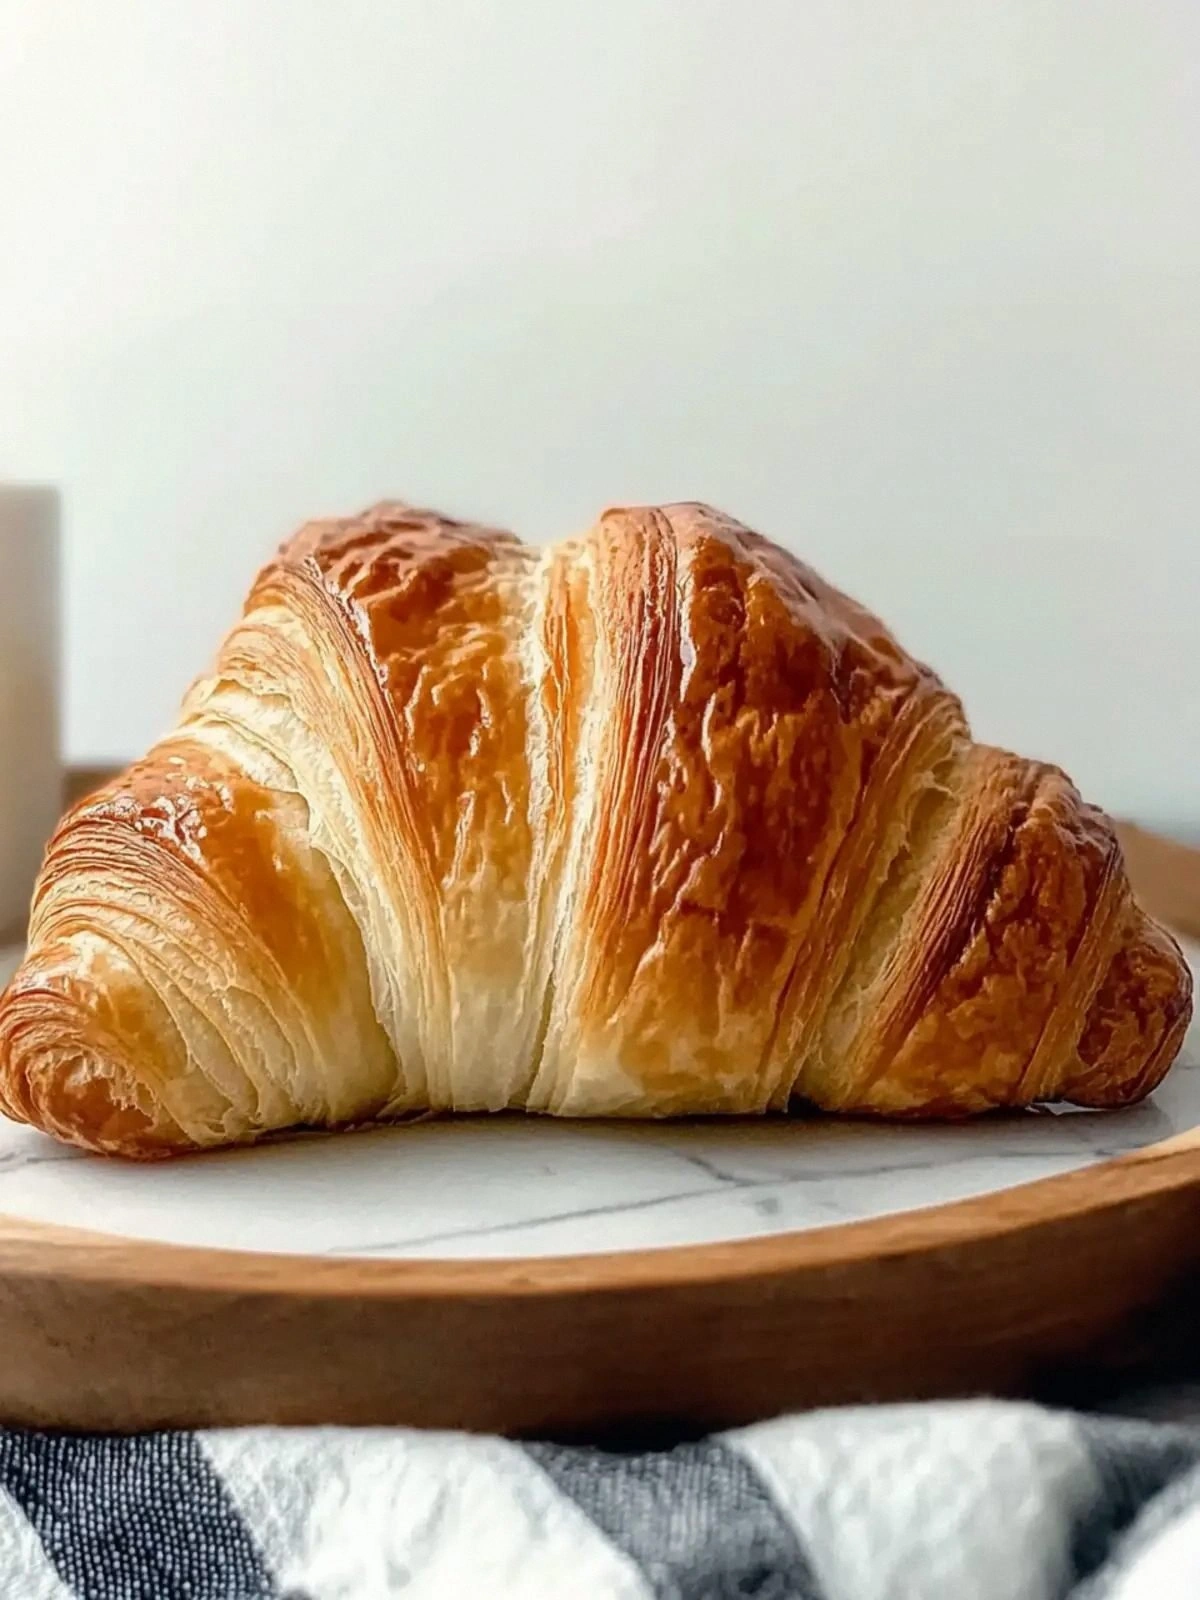
- Flaky Layers: The lamination technique creates dozens of thin butter‑filled layers that puff into a delicate, airy structure, giving each roll a satisfying crunch that gives way to a soft interior.
- Balanced Sweetness: A measured amount of granulated sugar sweetens the dough just enough to enhance the buttery flavor without turning it into a sugary cookie.
- Rich Dairy: Whole milk adds a velvety mouthfeel and encourages the dough to rise smoothly, resulting in a tender crumb that feels like a cloud.
- Butter Blend: Using both unsalted and salted butter gives a complex flavor profile; the salted butter adds depth while the unsalted butter keeps the dough from becoming too greasy.
- Yeast Precision: The exact amount of yeast ensures a steady rise, preventing the dough from becoming too airy and fragile.
- Egg Wash Finish: A light egg wash gives a glossy, golden crust that locks in moisture and adds a subtle savory note.
- Make‑Ahead Friendly: The dough can be prepared a day ahead, chilled, and baked fresh, making it ideal for busy mornings or weekend brunches.
- Universal Appeal: Whether you’re feeding a crowd or just treating yourself, these rolls adapt to any occasion, from breakfast to a snack with cheese.
Alright, let's break down exactly what goes into this masterpiece...
Inside the Ingredient List
The Flavor Base
Whole milk is the backbone of this dough, providing a subtle sweetness and a tender crumb that’s impossible to replicate with water alone. The dairy’s fat content enriches the dough, allowing the butter to melt smoothly and create those coveted flaky layers. If you’re lactose intolerant, a small portion of oat milk can replace the whole milk, but the flavor will shift slightly toward a nuttier profile.
The Texture Crew
Yeast, sugar, and salt are the silent architects of texture. The yeast ferments the sugars, producing carbon dioxide that leavens the dough, while the sugar feeds the yeast and adds a hint of sweetness. Salt controls yeast activity, ensuring a steady rise and balancing the overall flavor. If you skip any of these, the dough will either be too dense or too airy, losing that perfect buttery bite.
The Unexpected Star
Unsalted butter is the star that adds richness, but its role goes beyond flavor. It’s the key to creating distinct layers; the butter must be cold and pliable to separate from the dough during lamination. Swapping unsalted butter for olive oil or butter substitutes will change the texture entirely, resulting in a denser roll that won’t puff like a croissant.
The Final Flourish
Egg and water are the finishing touches that bring everything together. The egg wash gives a glossy, golden crust that seals in moisture, while the small splash of water helps keep the dough from drying out during the final proof. If you’re vegan, a flaxseed “egg” can replace the real egg, but the crust will be less glossy and the flavor will shift slightly.
Everything's prepped? Good. Let's get into the real action...
The Method — Step by Step
- Warm the Milk: In a small saucepan, gently heat the whole milk until it’s lukewarm, about 100°F (38°C). This temperature activates the yeast without killing it. Pour the warm milk into a mixing bowl and sprinkle the yeast over the surface, letting it bloom for 5 minutes until frothy. The froth indicates that the yeast is alive and ready to work its magic. I’ve found that a slightly warm bath for the yeast gives the dough a steady lift.
- Mix Dry Ingredients: In a separate bowl, whisk together the all‑purpose flour, granulated sugar, and salt. The sugar not only feeds the yeast but also balances the salt’s sharpness. Stir until the mixture is uniform; this ensures that every bite has the same flavor profile. The flour’s protein content will develop gluten, giving the dough structure and chewiness. A well‑mixed dry blend is essential for consistent results.
- Combine Wet and Dry: Add the frothy yeast mixture to the dry ingredients and stir with a wooden spoon until a shaggy dough forms. The dough should be slightly sticky but manageable. Knead it on a floured surface for about 5 minutes until it’s smooth and elastic. This kneading process develops the gluten network that will hold the layers together. At this point, the dough should feel soft yet firm, ready for lamination.
- First Proof: Shape the dough into a ball, place it in a lightly greased bowl, cover with plastic wrap, and let it rise in a warm spot for 1 hour, or until doubled in size. During the proof, the yeast ferments sugars, producing carbon dioxide that leavens the dough. Keep the dough covered to prevent a crust from forming. This first rise is crucial; it builds the base flavor and texture. I keep a timer on my phone to ensure I don’t overproof.
- Prepare the Butter Sheet: While the dough rises, cut the unsalted butter into a 4x8 inch rectangle. Place the butter between two sheets of parchment paper and chill in the refrigerator until firm but pliable. This sheet will be rolled into the dough to create layers. If the butter becomes too hard, it won’t fold into the dough properly, resulting in uneven layers. A quick check: press the butter with your thumb—if it leaves a slight indentation, it’s ready.
- Lamination: Once the dough has doubled, turn it out onto a lightly floured surface and roll it into a 12x8 inch rectangle. Place the chilled butter sheet in the center of the dough, then fold the dough over the butter like a letter, sealing the edges. Roll the dough out again to a 12x8 inch rectangle. Perform a “turn” by folding the dough into thirds, like a business letter, and then rotate 90 degrees. Repeat the roll and fold process two more times, chilling the dough between each fold for 15 minutes. This process creates the layers that puff up into flaky rolls.
- Shape the Rolls: After the final chill, roll the dough out to a 12x8 inch rectangle again. Cut the dough into 12 equal squares, each about 3x3 inches. Roll each square tightly, starting at one corner and rolling towards the opposite edge. Place the rolled rolls on a parchment‑lined baking sheet, spacing them about 1 inch apart. The tight roll ensures the layers stay distinct during baking.
- Second Proof: Cover the shaped rolls with a clean kitchen towel and let them proof for 30 minutes, or until they puff up noticeably. This second rise allows the rolls to achieve that light, airy interior. Keep the proofing area warm but not hot, as excessive heat can cause the rolls to overproof and collapse.
- Egg Wash: In a small bowl, whisk the egg with one tablespoon of water to create a light glaze. Brush the tops of each roll with the egg wash using a pastry brush. The egg wash gives a glossy, golden crust that locks in moisture and adds a subtle savory note. Be careful not to over‑apply; a thin coat is enough for a beautiful finish.
- Bake: Preheat the oven to 375°F (190°C). Place the baking sheet in the oven and bake for 18-20 minutes, or until the rolls are golden brown and sound hollow when tapped on the bottom. The heat causes the butter layers to melt and steam, puffing the rolls to perfection. Once baked, let the rolls cool on a wire rack for at least 10 minutes before serving.
- Serve: Present the rolls warm, perhaps with a side of butter or jam. The first bite will crackle with a crisp crust, followed by an airy, buttery interior that melts in your mouth. The aroma alone is enough to draw a crowd. If you’re serving guests, consider offering a small ramekin of honey or a dollop of mascarpone for an extra touch of decadence.
That's it — you did it. But hold on, I've got a few more tricks that'll take this to another level. These insider tips will help you avoid common pitfalls and elevate the flavor profile even further.
Insider Tricks for Flawless Results
The Temperature Rule Nobody Follows
Many bakers assume room temperature is fine for the dough, but the truth is the dough’s internal temperature should be around 80°F (27°C). Using a thermometer ensures the yeast activates properly without overheating, which can kill the yeast or create uneven rise. I’ve found that a simple kitchen thermometer keeps the dough in the sweet spot, leading to consistent, fluffy rolls every time.
Why Your Nose Knows Best
During the first proof, listen for a subtle sweet, yeasty aroma that signals the dough is ready. If the smell is faint or sour, give it a little more time. A strong, pleasant aroma means the yeast is thriving, and the dough will rise beautifully. Trust your nose; it’s the best judge of dough readiness.
The 5‑Minute Rest That Changes Everything
After the final roll, let the dough rest for 5 minutes before brushing the egg wash. This short pause allows the dough to relax, making it easier to apply a smooth glaze without tearing the delicate layers. It also lets the butter melt slightly, enhancing the buttery flavor before baking.
Keep the Butter Cold, Keep the Layers
If you notice the butter softening too quickly, keep it chilled in the fridge for 10 minutes between laminations. A cold butter sheet creates distinct layers that puff up during baking, giving the rolls their signature flakiness. A warm butter sheet will merge with the dough, resulting in a dense, flat roll.
Use a Pastry Brush, Not a Sponge
When applying the egg wash, a pastry brush allows you to control the thickness of the glaze. A sponge can leave a thick, uneven coating that dries too quickly, leading to a rubbery crust. A light brushstroke ensures a glossy, golden finish that seals in moisture.
Avoid Over‑Baking, Keep the Inside Soft
Keep a close eye on the baking time; 18 minutes is often enough, but ovens vary. If you over‑bake, the rolls become dry and brittle. A quick tap on the bottom should sound hollow, indicating a perfect bake. I’ve learned that the golden crust is a sign of readiness, not over‑cooking.
These small adjustments will transform your batches from good to unforgettable. I’ve tested them in my kitchen, and the results speak for themselves—flaky, buttery rolls that keep people coming back for more.
Creative Twists and Variations
This recipe is a playground. Here are some of my favorite ways to switch things up:
Herbed Olive Oil Rolls
Replace the whole milk with a mixture of olive oil and water, then add fresh rosemary, thyme, and a pinch of sea salt. The olive oil adds a Mediterranean flair, while the herbs infuse the dough with aromatic depth. These rolls pair beautifully with a tomato‑based dip or a cheese platter.
Chocolate‑Infused Bites
Fold a handful of dark chocolate chips into the dough before the final roll. The chocolate melts into pockets of gooey sweetness as the rolls bake. Serve them warm with a dusting of powdered sugar for a decadent treat.
Savory Cheese Rolls
Add shredded Gruyère or cheddar to the dough during the final roll, and sprinkle a pinch of paprika on top before baking. The cheese melts into the layers, creating a savory, melty center. These rolls are perfect for brunch or as a party snack.
Cinnamon‑Sugar Swirl
Stir a tablespoon of ground cinnamon and a teaspoon of brown sugar into the dough before rolling. The cinnamon adds warmth, while the brown sugar deepens the sweetness. A light dusting of powdered sugar after baking completes the sweet, aromatic experience.
Nutty Crunch Roll
Sprinkle chopped walnuts or almonds into the dough before the final roll. The nuts add a delightful crunch and nutty flavor that contrasts with the buttery layers. Drizzle a little honey over the finished rolls for a sweet, nutty finish.
Lemon‑Zest Delight
Add zest from one lemon to the dough for a bright, citrusy note. The lemon zest pairs well with a dollop of lemon curd or a light yogurt drizzle. These rolls are a refreshing contrast to the rich butter.
The possibilities are endless, and each variation brings a new dimension to this classic recipe. Experiment, taste, and find your favorite combination.
Storing and Bringing It Back to Life
Fridge Storage
Store leftover rolls in an airtight container at room temperature for up to 2 days. If you need to keep them longer, refrigerate them in a zip‑top bag; they’ll stay fresh for 3–4 days. When you’re ready to eat, let them sit at room temperature for 15 minutes to restore some softness.
Freezer Friendly
Freeze rolls in a single layer on a parchment sheet before transferring to a freezer bag. They’ll keep for up to 3 months. When you’re ready to enjoy, thaw overnight in the refrigerator or at room temperature for 1–2 hours.
Best Reheating Method
Reheat frozen rolls in a preheated oven at 350°F (175°C) for 10 minutes, or until warmed through. For a quick snack, microwave on a paper towel for 20–30 seconds, but be careful not to over‑cook. Add a tiny splash of water to the baking sheet before reheating; the steam keeps the rolls from drying out, restoring that fresh‑baked softness.
With these storage tips, you’ll always have a batch of flaky, buttery rolls on hand for breakfast, brunch, or a midnight snack.