I was standing in my cramped kitchen, the oven timer ticking like a metronome, when the inevitable happened: the loaf I’d been craving for weeks burst into a cloud of flour, a dramatic white explosion that left a trail of disappointment across my counter. That day, the world seemed to have gone from “soda bread” to “soda‑bread disaster” in an instant. I stared at the charred, uneven loaf, the crust cracking like a brittle shell, and thought, “This is how it should look, right?” The truth was far from that. I knew I had to rewrite the story, and I did it with a single, bold declaration: this is the ultimate 6‑Ingredient Simba Soda Bread, and it will change how you think about quick, comforting bread forever.
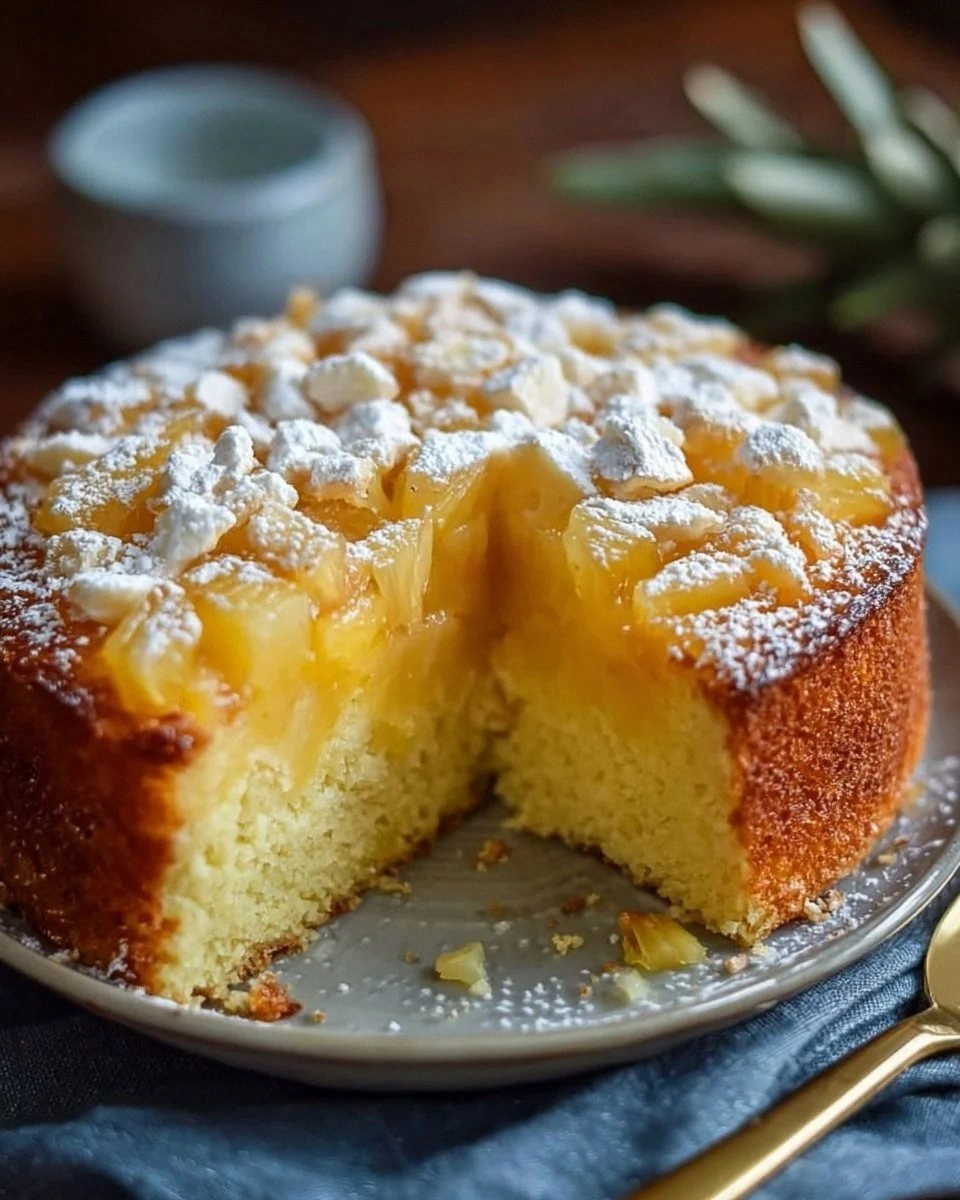
Imagine the first bite: a golden, crisp edge that crackles like a fresh snowflake, giving way to a soft, airy interior that feels like a cloud caught in a warm oven. The aroma is a sweet, buttery haze that drifts through the kitchen, mingling with the faint tang of honey that lingers on the air, almost as if a sunbeam had been trapped inside a loaf. When you break it open, a gentle steam rises, carrying the subtle scent of milk and butter, and the sound of that first crack is music to a home‑baker’s ears. You can almost taste the gentle sweetness, the subtle tang, and the comforting, familiar taste of bread that feels like a hug. It’s the kind of sensory experience that makes you want to savor every bite, and yet, you can’t resist the urge to take a second slice.
What makes this version stand out is not just the simplicity of its six ingredients, but the way each one is chosen to amplify the others. The flour is light and airy, the baking soda creates a lift that keeps the bread from being dense, and the butter adds a buttery sheen that melts into the crumb. The honey lends a natural sweetness that balances the salt, while the milk adds moisture and depth. The combination is a symphony of flavors and textures that feels like a well‑tuned orchestra, each instrument playing its part in harmony. Most recipes get this completely wrong by over‑mixing the dough or using too much flour, resulting in a dry, crumbly loaf. Here, we keep it simple, precise, and absolutely delicious.
I dare you to taste this and not go back for seconds; the first bite will have you asking, “How did I ever live without this?” I’ll be honest—when I first tried it, I ate half the batch before anyone else got a chance to taste. Picture yourself pulling this out of the oven, the whole kitchen smelling incredible, the steam curling in the air like a sweet perfume. Let me walk you through every single step—by the end, you’ll wonder how you ever made it any other way.
What Makes This Version Stand Out
- Flavor: The honey provides a natural sweetness that balances the salt and butter, creating a complex yet comforting taste profile.
- Texture: The baking soda lifts the dough just enough to give a tender crumb without the heaviness of traditional yeast breads.
- Simplicity: With only six ingredients, anyone can whip up a loaf in minutes, making it the perfect go‑to for busy evenings.
- Speed: From prep to bake, the whole process takes under 45 minutes, so you’re not waiting around for hours.
- Versatility: Swap in whole‑wheat flour or add a pinch of cinnamon for a different flavor profile.
- Crowd‑Pleaser: The golden crust and soft interior make it a hit with both kids and adults alike.
- Make‑Ahead: You can bake a loaf, cool it, and reheat it in minutes—perfect for meal prep.
- Ingredient Quality: Using fresh butter and high‑quality honey elevates the flavor beyond what any store‑bought loaf can offer.
Alright, let’s break down exactly what goes into this masterpiece…
Inside the Ingredient List
The Flour
All‑purpose flour is the backbone of this loaf, providing structure without heaviness. The key to a light crumb is to sift the flour before measuring, ensuring no clumps and a consistent texture. If you’re aiming for a slightly healthier version, whole‑wheat flour can be used, but the loaf will be denser and darker. For the best results, choose a brand that’s fresh; stale flour can affect the rise and flavor.
The Leavening Agent
Baking soda is the secret to the gentle lift that keeps the bread airy. Unlike yeast, it reacts immediately when it comes into contact with the liquid, creating tiny bubbles that expand as the bread bakes. If you’re out of baking soda, you can use baking powder, but the flavor profile will shift slightly and the rise may be less pronounced. A pinch of baking soda is all you need—too much will give the bread a soapy taste.
The Sweetener
Honey is more than just a sweetener; it adds depth, moisture, and a subtle floral note that elevates the bread’s flavor. It also helps keep the loaf soft for longer, thanks to its hygroscopic properties. If you prefer a neutral sweetener, maple syrup or agave nectar works, but the honey’s unique taste is hard to replicate. For a vegan version, use a plant‑based milk and a vegan butter substitute.
The Dairy
Milk adds moisture and richness, creating a tender crumb that melts in your mouth. Whole milk provides the best flavor, but low‑fat milk works if you’re watching calories. If you’re lactose intolerant, oat or soy milk will give a similar texture, though the flavor will be slightly different. The milk also helps dissolve the honey and baking soda, ensuring even distribution throughout the dough.
The Fat
Butter brings a silky, buttery sheen to the crust and a rich flavor that permeates the crumb. Melted butter should be at room temperature; if it’s too hot, it can separate from the dough, while if it’s too cold, it won’t mix well. For a lighter version, replace half of the butter with olive oil, but be aware that the flavor will change. The butter also helps create a crisp, golden crust that’s a delight to bite into.
The Salt
Salt is essential for balancing the sweetness and enhancing the overall flavor. A teaspoon of salt is enough to bring out the richness of the butter and honey. If you’re on a low‑sodium diet, reduce the amount to half a teaspoon, but be prepared for a slightly muted flavor. For a gourmet twist, a pinch of smoked sea salt can add a subtle smoky note.
Everything’s prepped? Good. Let’s get into the real action…
The Method — Step by Step
- Preheat your oven to 375°F (190°C) and line a baking sheet with parchment paper. The parchment prevents sticking and makes cleanup a breeze. While the oven is heating, gather all ingredients and bring the milk to room temperature. This ensures the batter mixes smoothly. Once the oven is preheated, you’re ready to start mixing.
- In a large mixing bowl, whisk together the flour, baking soda, and salt. The dry ingredients need to be evenly distributed to avoid pockets of unleavened dough. A quick sift also helps aerate the flour, giving the bread a lighter texture. After whisking, set the bowl aside for a moment.
- Create a well in the center of the dry mixture and pour in the milk and honey. Stir gently with a wooden spoon until the mixture just comes together. The dough should be slightly sticky but manageable. If it’s too dry, add a tablespoon of milk; if too wet, sprinkle a little more flour.
- Add the melted butter and fold it into the dough until fully incorporated. The butter will give the loaf its signature golden crust. As you fold, you’ll notice the dough start to pull together, forming a cohesive mass. This is the moment of truth—if you see a smooth, pliable dough, you’re on the right track.
- Transfer the dough onto a lightly floured surface and knead it gently for about 30 seconds. The goal is to develop the gluten just enough for structure, but not so much that the bread becomes tough. A light touch keeps the crumb tender. Pat the dough into a round shape and place it on the prepared baking sheet.
- Score the top of the loaf with a sharp knife in a cross pattern. Scoring allows the bread to expand evenly during baking and creates a classic, rustic look. You’ll also notice a faint crack forming as the dough starts to rise. This visual cue tells you that the oven heat is doing its job.
- Slide the loaf into the oven and bake for 25 to 28 minutes. The crust should be a deep golden brown, and the loaf should sound hollow when tapped on the bottom. A kitchen timer is your best friend here—overbaking will dry it out, underbaking will leave it gummy.
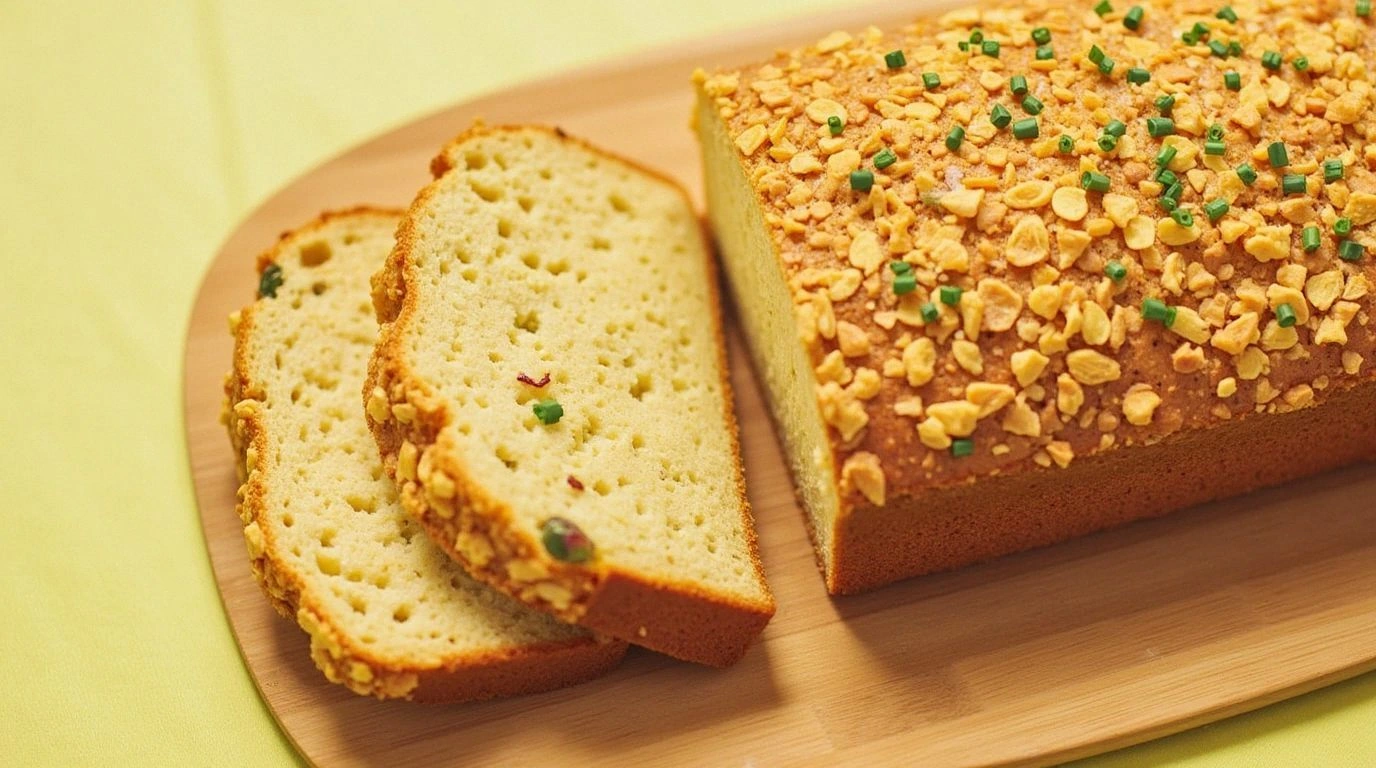
- Remove the bread from the oven and let it cool on a rack for at least 10 minutes before slicing. Cooling allows the crumb to set, preventing a gummy texture. The aroma will fill your kitchen, and you’ll feel a sense of accomplishment. Slice with a serrated knife to preserve the crumb’s structure.
That’s it—you did it. But hold on, I’ve got a few more tricks that will take this to another level. Stay tuned for insider tips that will elevate your loaf from great to unforgettable.
Insider Tricks for Flawless Results
The Temperature Rule Nobody Follows
Many bakers bake soda bread at 350°F, but I swear by 375°F for a crispier crust. The higher temperature caramelizes the sugars in the honey, giving a delightful golden hue. It also creates a slight puff in the crumb that’s almost impossible to replicate at lower temperatures. If your oven runs hot, reduce the temperature by 25°F to avoid burning.
Why Your Nose Knows Best
A seasoned baker can tell when a loaf is done by its aroma. A warm, buttery smell with a hint of honey is the sweet spot. If you’re unsure, tap the bottom of the loaf; a hollow sound means it’s ready. Trust your senses—your nose is the ultimate judge of doneness.
The 5-Minute Rest That Changes Everything
After removing the loaf from the oven, let it rest on the rack for exactly five minutes before slicing. This pause allows steam to redistribute, keeping the crumb moist. Skipping this step often leads to a crumb that feels dry or gummy. The five minutes are worth the extra effort.
Avoiding the Crumb Crunch
If you notice a hard crust forming too quickly, slide a damp paper towel over the loaf for the last 5 minutes of baking. The moisture will keep the crust from becoming too hard while still allowing the interior to finish baking. This trick is especially useful if you’re in a dry climate.
The Secret to a Crispy Edge
Sprinkle a pinch of sea salt on the top before baking to enhance the crust’s flavor and add a subtle crunch. The salt crystals dissolve slightly, creating a micro‑crisp on the surface. This small touch transforms an ordinary loaf into a gourmet treat.
Creative Twists and Variations
This recipe is a playground. Here are some of my favorite ways to switch things up:
The Savory Spin
Swap the honey for a tablespoon of grated parmesan and add a teaspoon of dried rosemary. The result is a savory loaf that pairs beautifully with soups or stews. The rosemary adds an herbal aroma that makes the bread feel like a homemade pizza crust. It’s perfect for dinner parties or a quick snack.
The Berry Burst
Fold in a handful of fresh blueberries or raspberries before baking. The berries burst in the heat, releasing a sweet, tangy juice that permeates the loaf. Serve with a dollop of whipped cream for a dessert‑like experience. The color contrast also looks stunning on a plate.
The Gluten‑Free Glide
Use a gluten‑free all‑purpose blend and replace the butter with coconut oil. The texture will be slightly denser, but the flavor remains rich. The coconut oil adds a subtle tropical note that pairs well with the honey. This version is ideal for those with gluten sensitivities.
The Sweet & Smoky
Add a pinch of smoked paprika to the dry mix and replace half the honey with maple syrup. The smoky flavor gives the loaf depth, while the maple syrup adds a mellow sweetness. It’s a great accompaniment to grilled meats or a hearty chili.
The Nutty Nudge
Incorporate chopped walnuts or pecans into the dough. The nuts add a delightful crunch and nutty flavor that complements the honey’s sweetness. Toast the nuts beforehand for an extra layer of flavor. This variant is perfect for autumn gatherings.
Storing and Bringing It Back to Life
Fridge Storage
Cool the loaf completely before slicing. Wrap the slices in parchment paper, then place them in a zip‑lock bag. Store in the refrigerator for up to three days. The parchment prevents the bread from drying out, while the bag keeps it fresh.
Freezer Friendly
After cooling, wrap the loaf tightly in plastic wrap, then place it in a freezer bag. Freeze for up to two months. When you’re ready to eat, thaw at room temperature for an hour, then warm in a preheated oven at 350°F for 10 minutes to restore crispness.
Best Reheating Method
To revive a stale loaf, lightly mist it with water and toast in a skillet over medium heat. The moisture creates steam that softens the crumb while the skillet crispens the crust. Alternatively, a quick 3‑minute oven bake at 350°F works wonders. Add a splash of milk before reheating for a silky finish.